In this post, I would like to share the steps involved in building the Exchange 2019 lab on Azure using Az PowerShell module. My plan is to simulate some of the common scenarios for Exchange 2019 DR for which I planned to build the lab in Azure using the custom image.
Many organizations will have the custom images and will be building the VM’s with the custom image windows server OS. Also, for Exchange, its recommended to have the same configuration across the servers which will be part of the DAG.
So, in this post, we will see the steps involved in creating the Azure VM’s using the Hyper-V VHDX. Usually I prefer to create the VM’s in Hyper-V and this time I would like to make use of my Hyper-V base Windows 2019 VHDX in Azure as a custom image and create the VM’s. Please note that I was able to do this lab with Azure trial account. Another important information is that I want to achieve all these using the Azure PowerShell and not using the GUI.
Below are the high-level steps involved in achieving this requirement,
- Generalize using sysprep
- Convert the VHDX to VHD
- Install Azure Module
- Create the Resource group
- Create the Azure storage account
- Create a container
- Upload the VHD
- Create the Image
- Configure the Virtual networks
- Create a Public IP
- Create a new VM
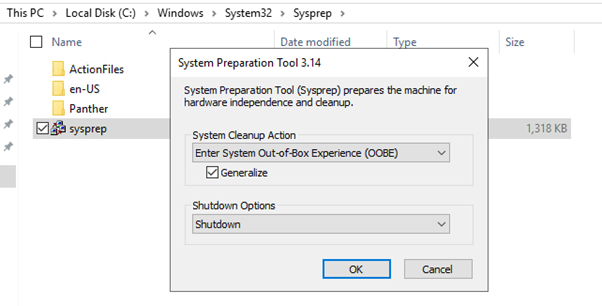
- Generalize using sysprep
Let’s assume that Hyper-V VM has been created with Windows server 2019 and the VHDX is ready. Next step is to generalize the VM using sysprep and shutdown. This is the first requirement for Image creation in Azure. Make sure to select “Shutdown” instead of “Reboot”.
- Convert the VHDX to VHD
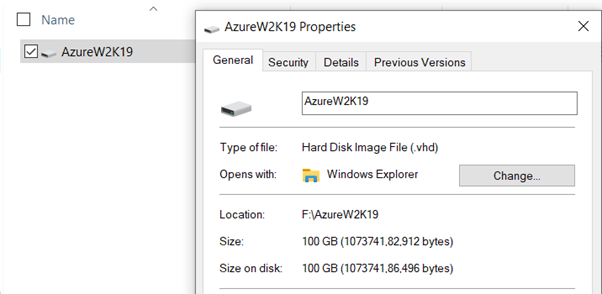
Now that we have the generalized VHDX, we need to convert it to VHD format and with fixed disk type. Azure doesn’t support VHDX format and dynamic disk. So, convert it to the supported format using the below command,
Convert-VHD -Path “C:\Lab\Base Win 2019\BaseW2K19.vhdx” -DestinationPath “C:\Lab\AzureVHD\AzureW2K19.vhd” -VHDType Fixed
![]()
Once done, check the properties to confirm the extension and disk size.
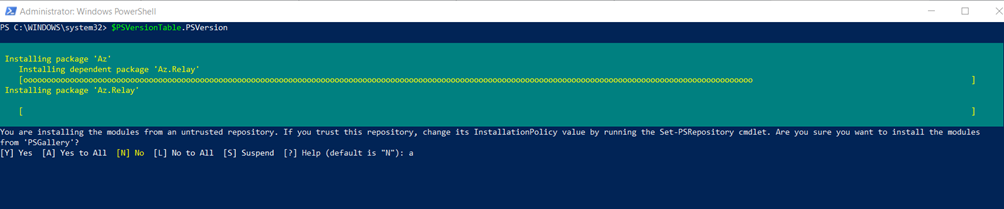
- Install Azure PowerShell Module
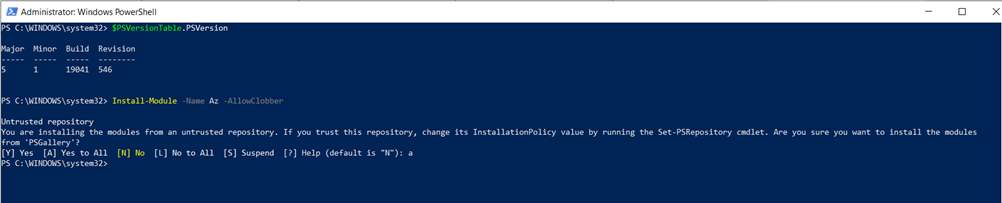
We have now prepared our source environment and time to prepare the target Azure environment. Since we will be using the PS, install the module by verifying the existing PS version. I have used the Windows 10 machine and my PS major version is 5.
$PSVersionTable.PSVersion
Install-Module -Name Az -AllowClobber
- Create the Resource group
Connect to the Azure account using the below command and enter the credentials once prompted,
Connect-AzAccount
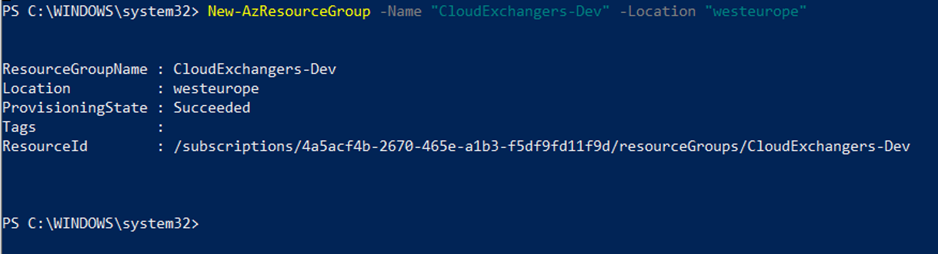
New-AzResourceGroup -Name “CloudExchangers-Dev” -Location “westeurope”
- Create the Azure storage account
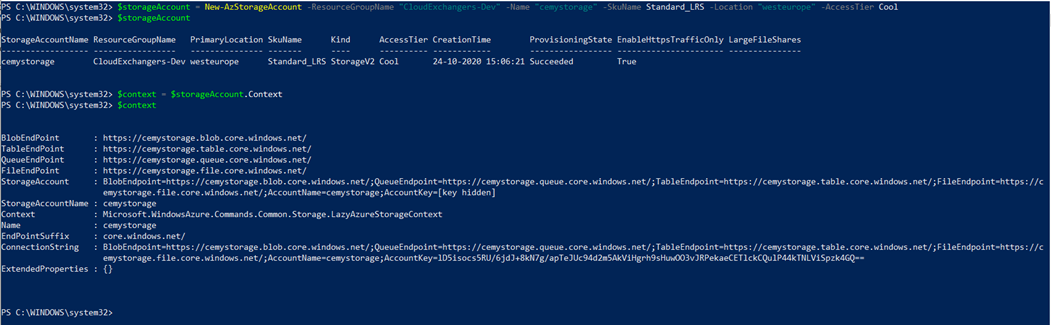
$storageAccount = New-AzStorageAccount -ResourceGroupName “CloudExchangers-Dev” -Name “cemystorage” -SkuName Standard_LRS -Location “westeurope”
$context = $storageAccount.Context
- Create a container
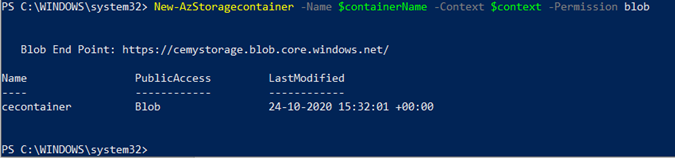
Create a container with Blob permission for uploading the VHD
$containerName = “cecontainer”
New-AzStoragecontainer -Name $containerName -Context $context -Permission blob

- Upload the VHD
$localPath = ‘F:\AzureW2K19\AzureW2K19.vhd’
$vhdName = ‘BaseW2K19.vhd’
$urlOfUploadedImageVhd = (‘https://cemystorage.blob.core.windows.net/cecontainer’ + ‘/’ + $vhdName)
Add-AzVhd -ResourceGroupName “CloudExchangers-Dev” -Destination $urlOfUploadedImageVhd -LocalFilePath $localPath -OverWrite

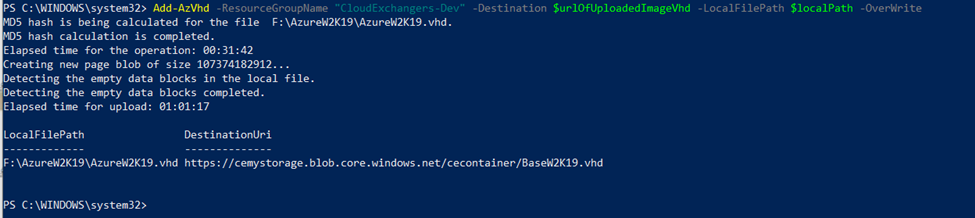
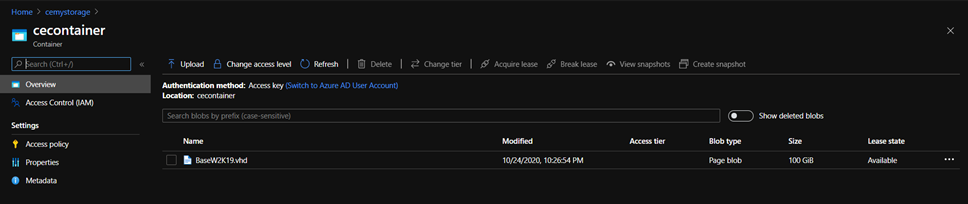
You can also verify using the portal,
- Create the Image
$location = ‘westeurope’
$imageConfig = New-AzImageConfig -Location $location
$imageConfig = Set-AzImageOsDisk -Image $imageConfig -OsType Windows -OsState Generalized -BlobUri $urlOfUploadedImageVhd
$imagename = “BaseW2K19”
$resourceGroupName = “CloudExchangers-Dev”
$image = New-AzImage -ImageName $imageName -ResourceGroupName $resourceGroupName -Image $imageConfig

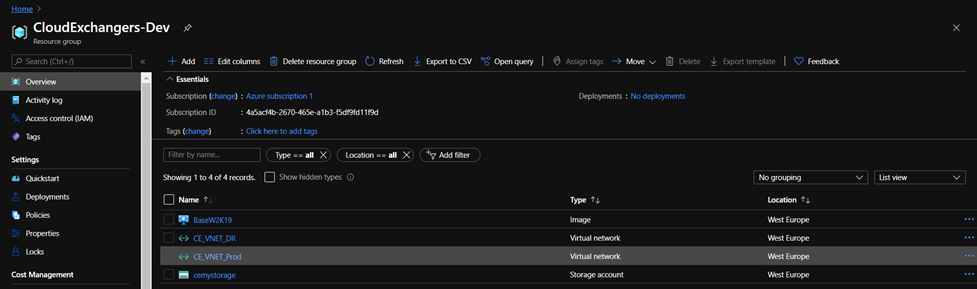
Verify the image,

We have now successfully created an image file using our custom VHD and ready to provision the VM’s using the Image. Before creating a new VM, we must create and configure the virtual networks.
- Configure the Virtual networks
I have created 2 virtual networks and peered them because I will be configuring different sites for Exchange 2019 DR simulation.
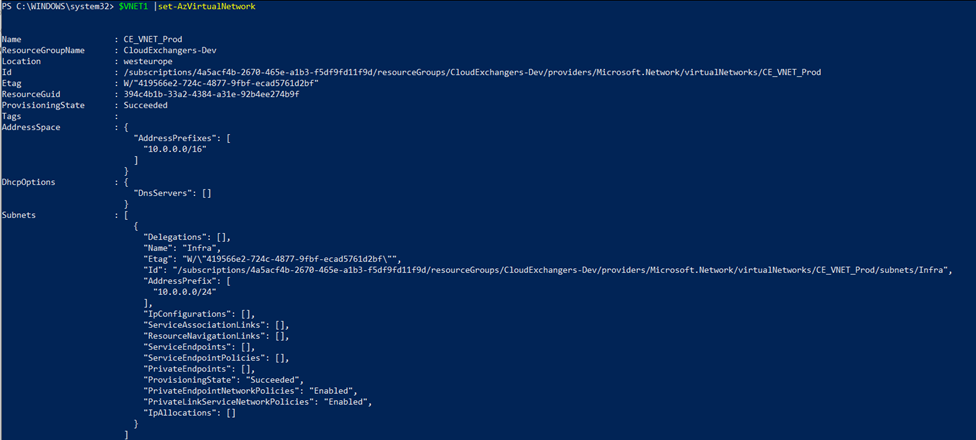
$VNET1 = New-AzVirtualNetwork -ResourceGroupName “CloudExchangers-Dev” -Location westeurope -Name “CE_VNET_Prod” -AddressPrefix 10.0.0.0/16
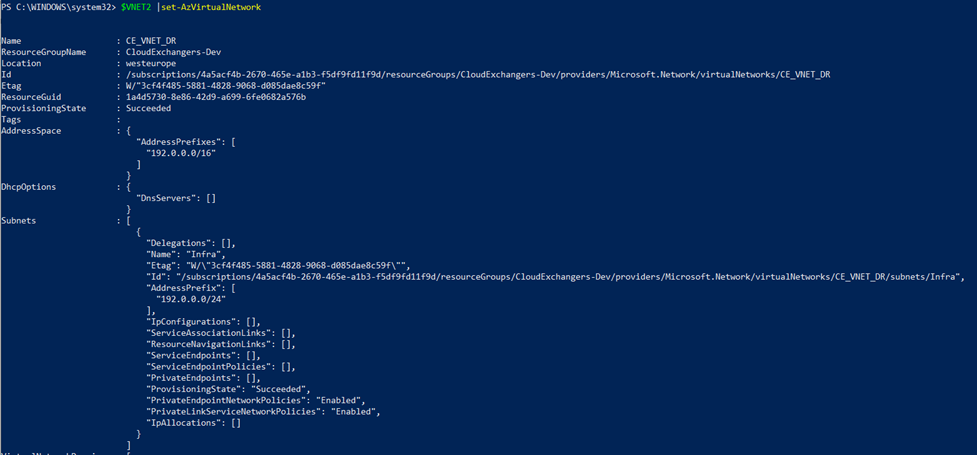
$VNET2 = New-AzVirtualNetwork -ResourceGroupName “CloudExchangers-Dev” -Location westeurope -Name “CE_VNET_DR” -AddressPrefix 192.0.0.0/16

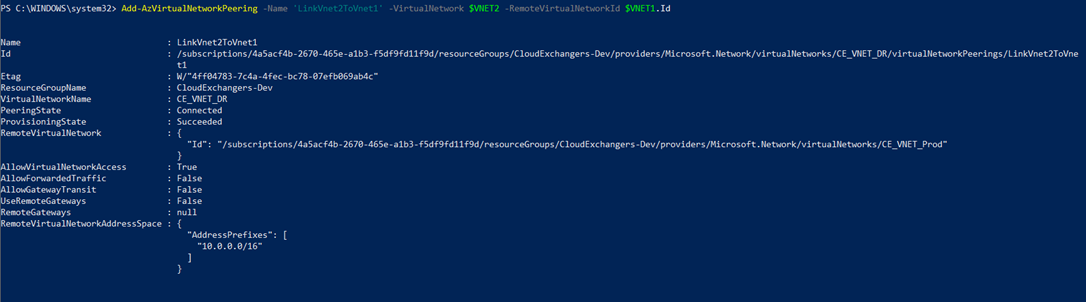
VNET Peering – This is required for the communication between the 2 virtual networks and the resources/VM’s in the networks can communicate using the private IP’s.
Add-AzVirtualNetworkPeering -Name ‘LinkVnet1ToVnet2’ -VirtualNetwork $VNET1 -RemoteVirtualNetworkId $VNET2.Id
Add-AzVirtualNetworkPeering -Name ‘LinkVnet2ToVnet1’ -VirtualNetwork $VNET2 -RemoteVirtualNetworkId $VNET1.Id

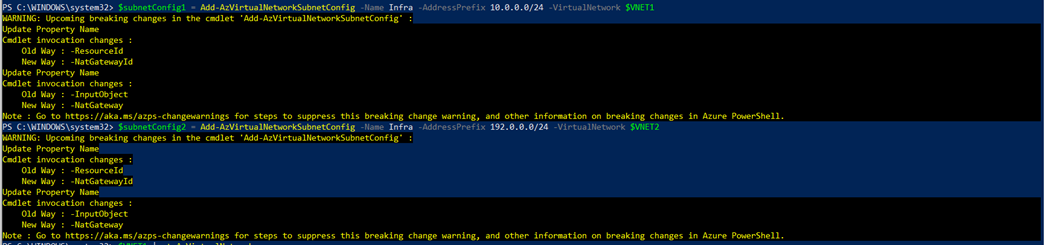
$subnetConfig1 = Add-AzVirtualNetworkSubnetConfig -Name Infra -AddressPrefix 10.0.0.0/24 -VirtualNetwork $VNET1
$subnetConfig2 = Add-AzVirtualNetworkSubnetConfig -Name Infra -AddressPrefix 192.0.0.0/24 -VirtualNetwork $VNET2
$VNET1 |set-AzVirtualNetwork
$VNET2 |set-AzVirtualNetwork
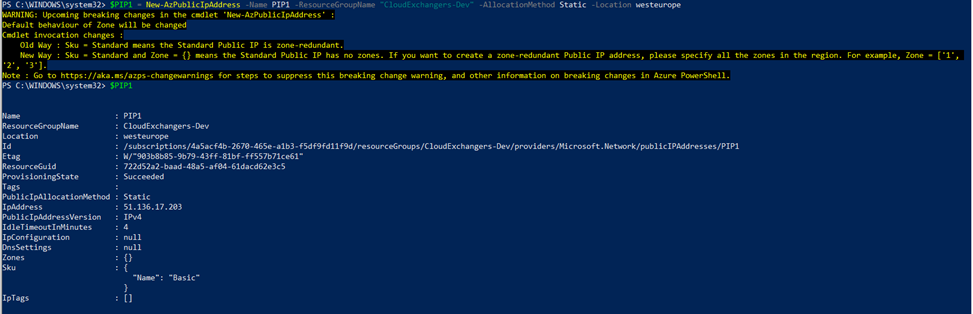
- Create a Public IP
$PIP1 = New-AzPublicIpAddress -Name PIP1 -ResourceGroupName “CloudExchangers-Dev” -AllocationMethod Static -Location westeurope
- Create a new VM
We will use the resources created above to create the VM. In the above commands, I have used variables for creating resource groups, VNET, Images, etc to make sure of those information in creating the VM.
$cred = get-credential
New-AzVM -ResourceGroupName $RG -Name PDC -Image $Image.Id -Location $location -Credential $cred -VirtualNetworkName $VNET1 -SubnetName Infra -PublicIpAddressName $PIP1 -OpenPorts 3389 -Size Standard_B2ms

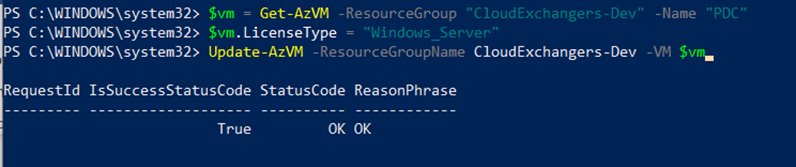
You can convert the licensing type to Azure hybrid using the below commands if you have your own license purchased under EA.
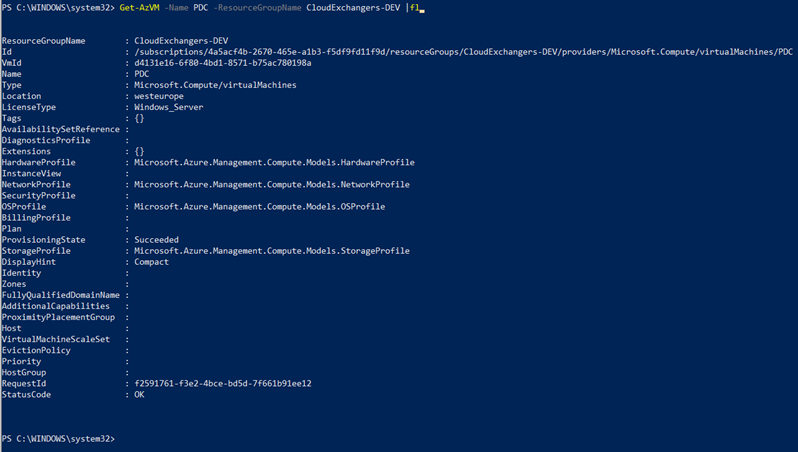
$vm = Get-AzVM -ResourceGroup “CloudExchangers-Dev” -Name “PDC”
$vm.LicenseType = “Windows_Server”
Update-AzVM -ResourceGroupName CloudExchangers-Dev -VM $vm
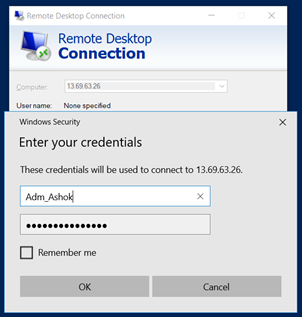
Initiating RDP connection on the public IP and able to login to the server
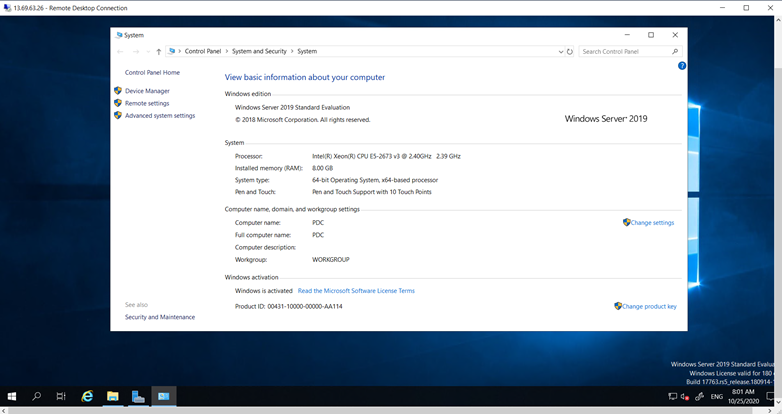
We have successfully created an Azure VM using Hyper-V VHDX. We can configure multiple VM’s using ARM templates or use GUI or PowerShell to create VM’s. I will be creating more VM’s with this image and will be sharing the Exchange 2019 DR simulation in the next posts. Thank you for reading.
Happy learning!! 🙂