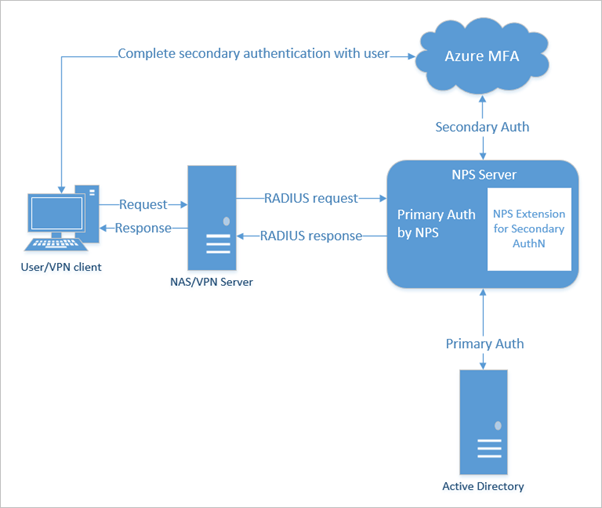
In this article, we will be covering the implementation of the Azure Multi Factor Authentication for Cisco VPN using the Network Policy Server. We assume that the users are already synced from Active directory to the Azure Active directory and have the licenses assigned for the Multi Factor Authentication. Below are the steps we will following,
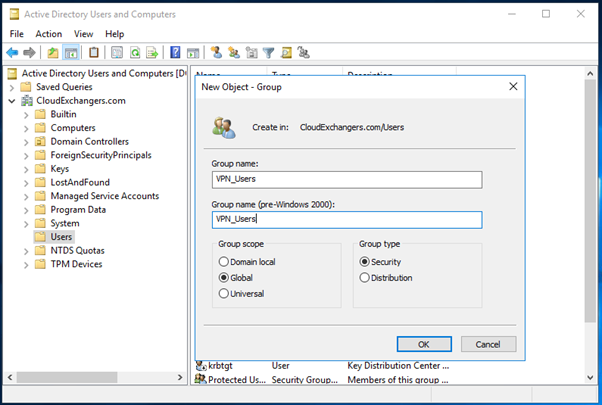
- Create an AD group for VPN Users
- Enable the MFA for the users in Office365/Azure Active Directory
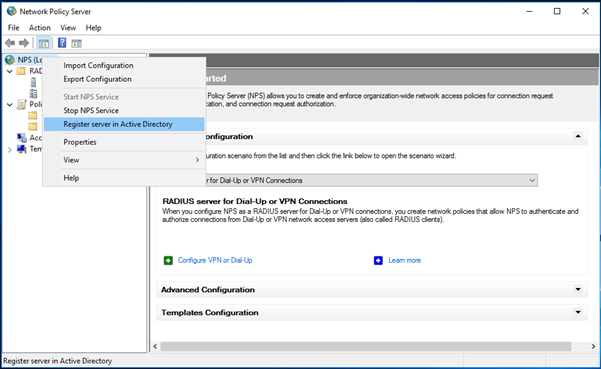
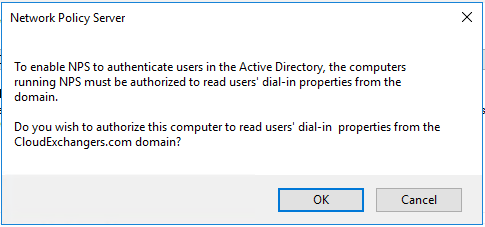
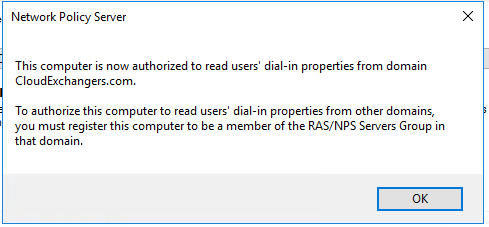
- Install and register the Network policy server
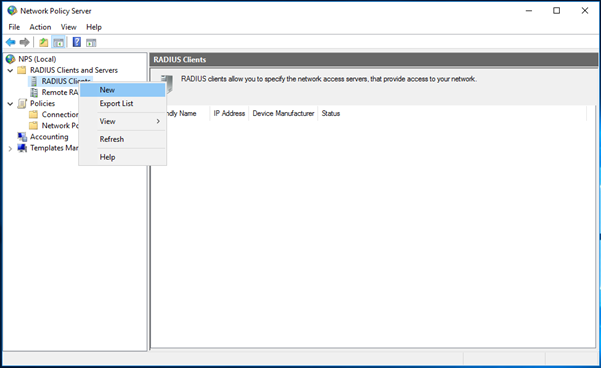
- Add the RADIUS client and Policy for Cisco ASA
- Add a new AAA group in Cisco ASA with the NPS server details
- Install the Azure MFA extensions on the NPS server
- Login to the Cisco AnyConnect client and check the MFA is working fine
- Create a new AD group for VPN Users
- Enable the MFA for the users in Office365/Azure Active Directory
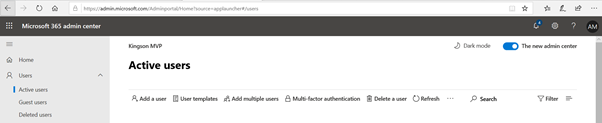
Login in to Https://portal.office365.com with your office365 administrator credentials
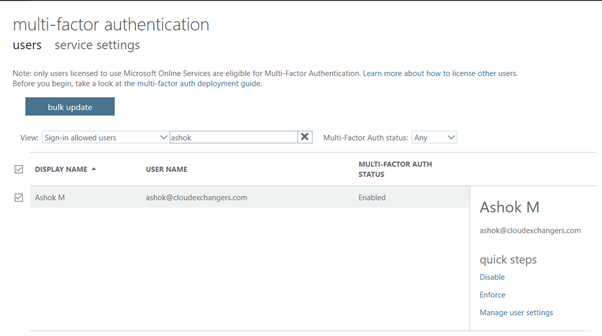
Go to Multi Factor Authentication
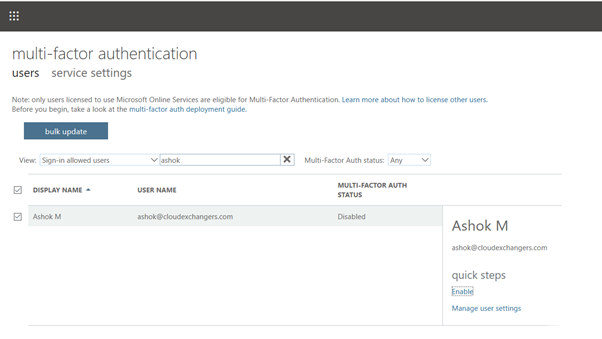
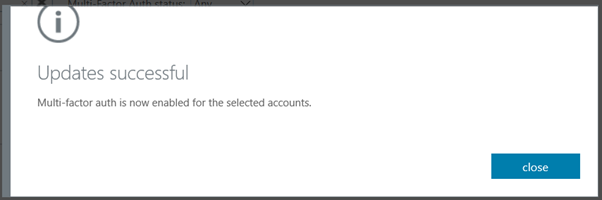
Enable the MFA for the user
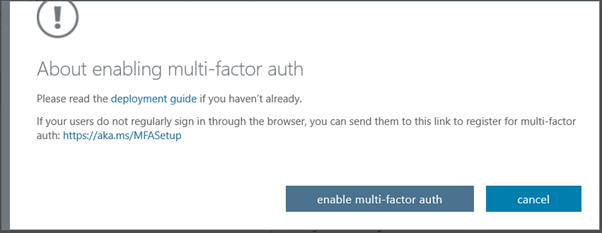
Make sure, users are registered in MFA using https://aka.ms/mfasetup
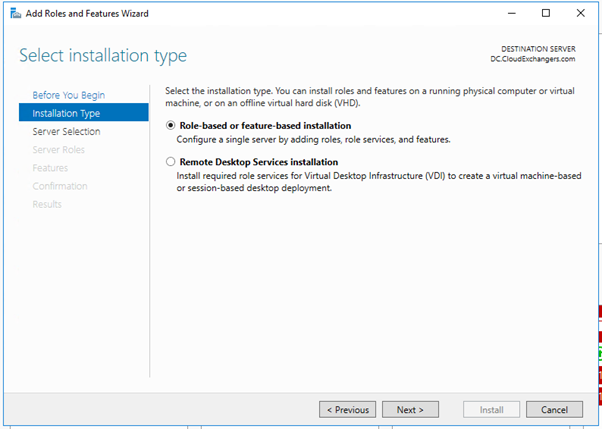
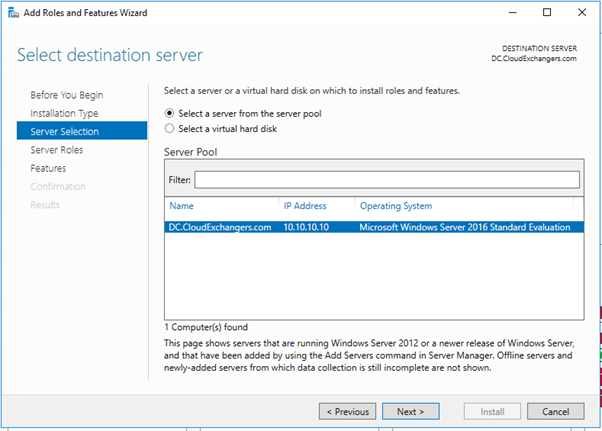
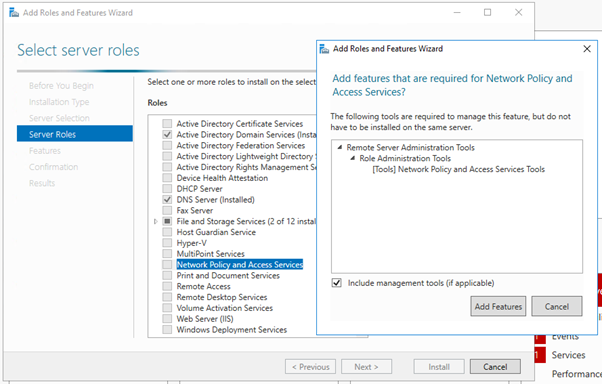
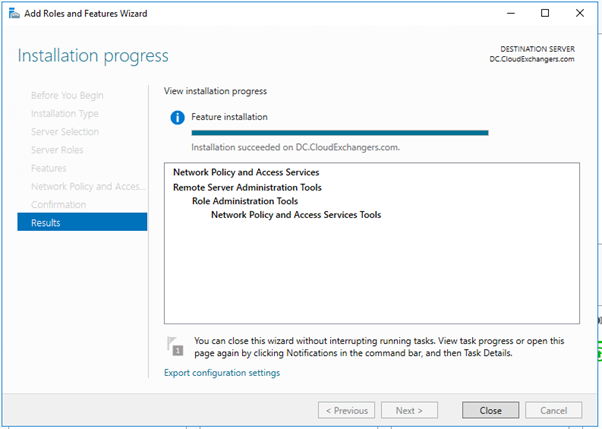
- Install and register the Network policy server in windows server 2016
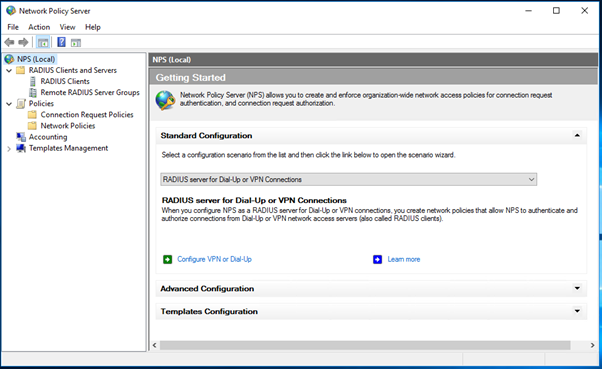
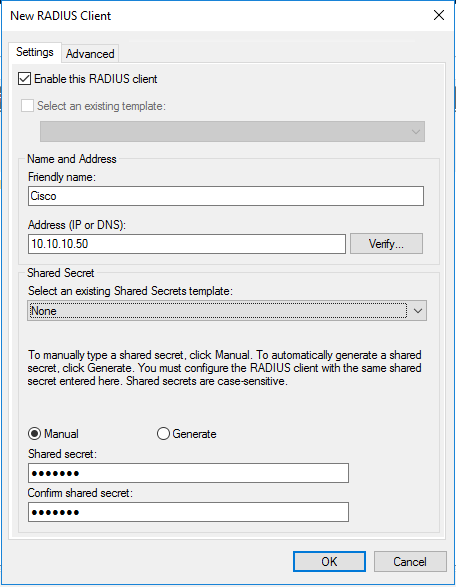
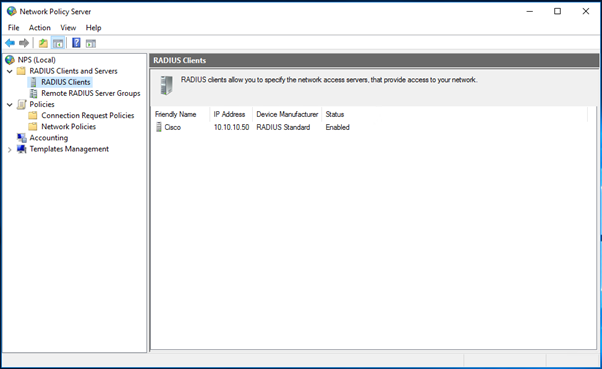
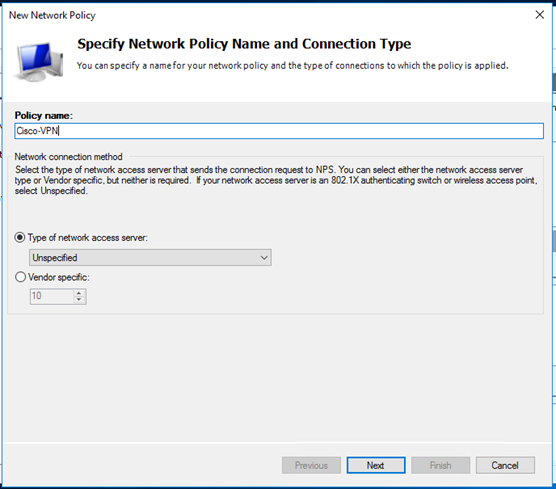
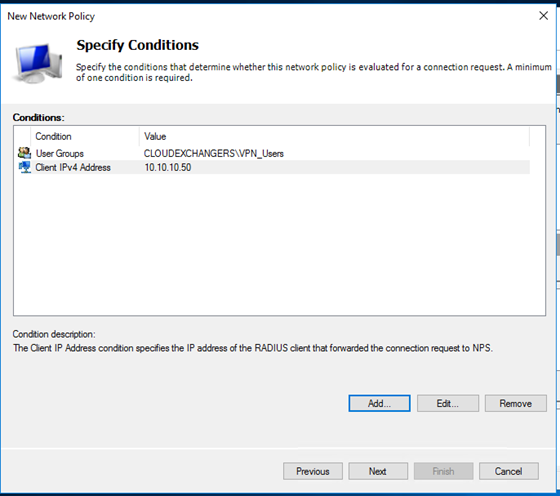
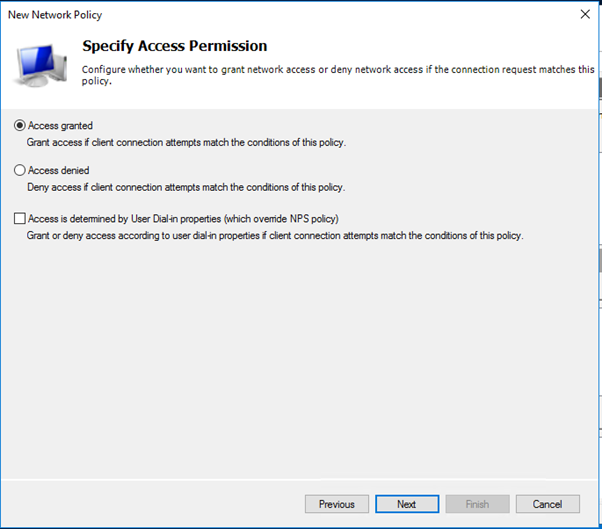
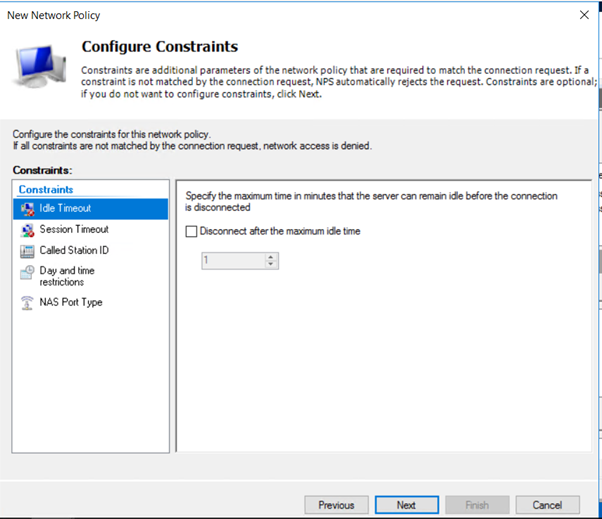
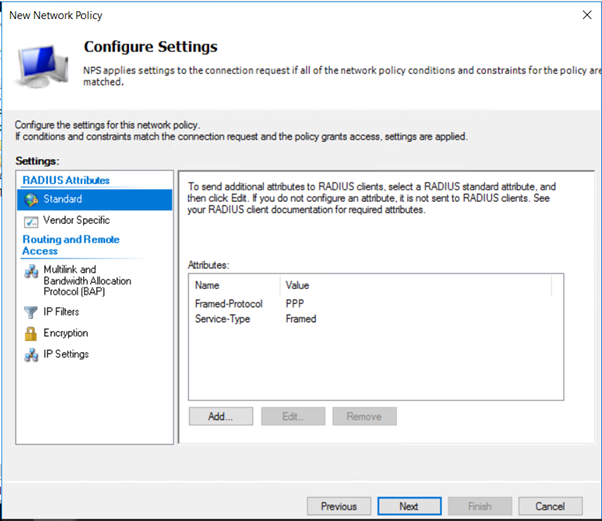
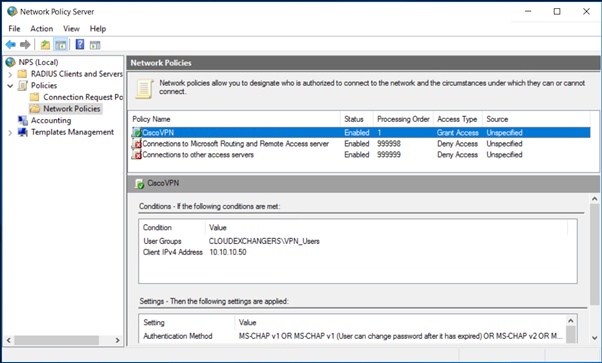
- Add the RADIUS client and Policy for Cisco ASA

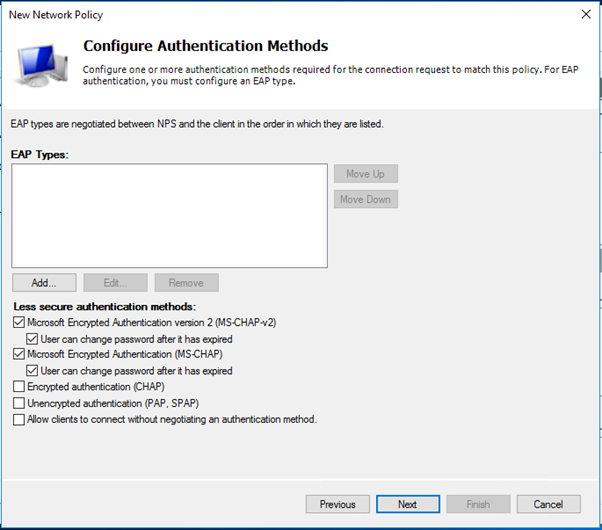
- PAP supports all the authentication methods of Azure MFA in the cloud: phone call, one-way text message, mobile app notification, OATH hardware tokens, and mobile app verification code.
- CHAPV2 and EAP support phone call and mobile app notification.
-
Add a new AAA group in Cisco ASA with the NPS server details
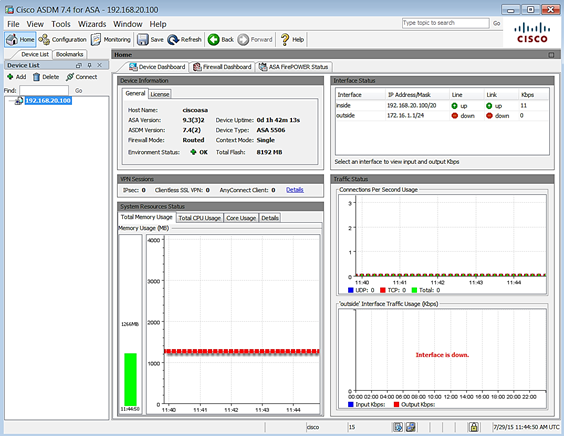
- Log in to the Cisco ASDM console for the VPN appliance
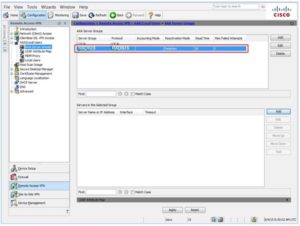
- Navigate to Configuration|Remote Access VPN|AAA/Local users|AAA server groups
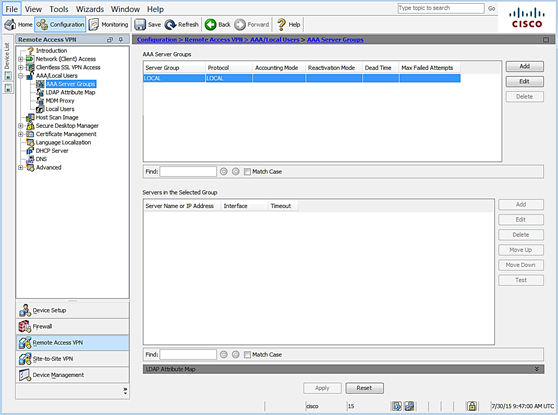
- Click Add to create a new group
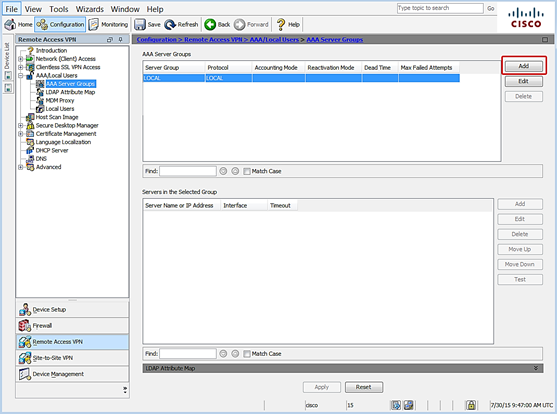
- The Add a new AAA Server Group dialog opens
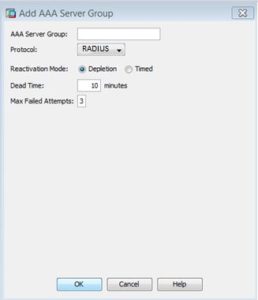
- Leave the default settings except for the following:
- AAA Server Group – specify a name to identify the group for the MFA server
- Protocol – select RADIUS
- Click OK
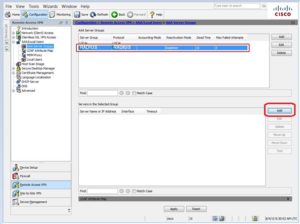
- In the AAA Server Groups list, select the server group you just created
-
- In the Servers in the Selected Group pane, click Add
-
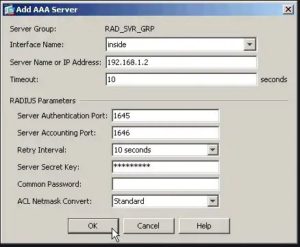
- The Add AAA Server dialog opens
-
- Leave the default settings except for the following:
- Interface Name – select the interface that will handle communication with the MFA Server
- Server Name or IP Address – specify the name or the IP address of the MFA server
- Timeout (seconds) – it is important to set a sufficient length of time for users to authenticate. 60 seconds is a common duration but may need to be adjusted. For example, large organizations may need more time to accommodate a higher volume of requests
- Server Authentication port – enter the port number used for RAIDUD authentication with NPS
- Server Accounting Port – enter the port number used for RAIDUD accounting with NPS
- Server Secret Key – enter the secret key generated from the NPS Radius client configuration step
- Click OK
- Click APPLY to save the configuration
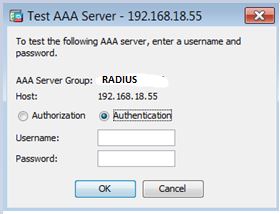
- Leave the default settings except for the following:
-
- Select a test option:
Please refer the below configuration document
https://docs.microsoft.com/en-us/azure/active-directory/authentication/howto-mfaserver-nps-vpn
Once the configuration has been done, user can test to login to the Cisco AnyConnect client and make sure the primary authentication is successful against the Active directory and the user is able to connect to the VPN.
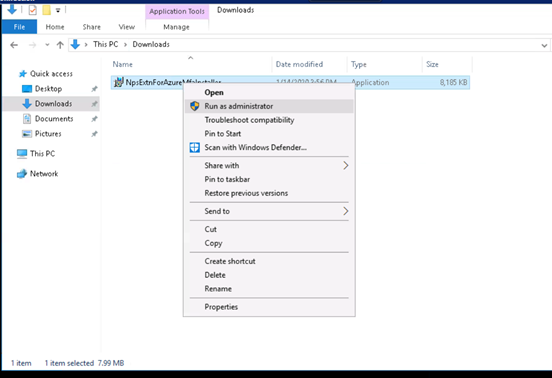
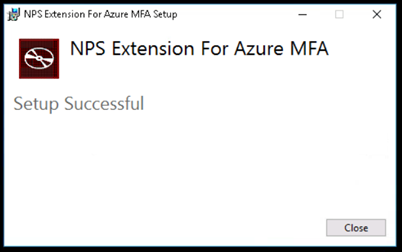
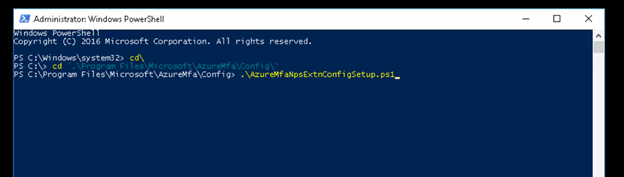
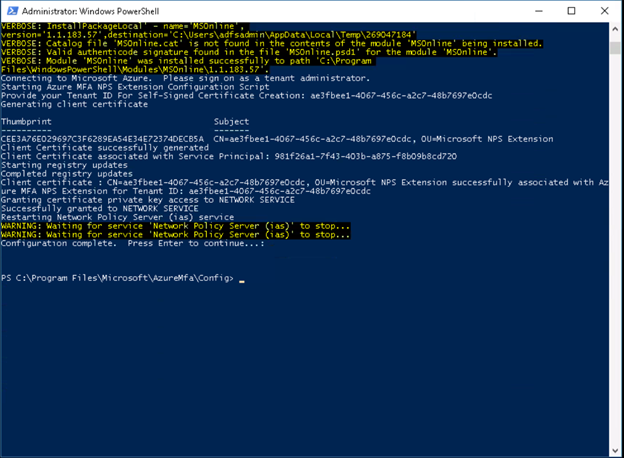
- Install the Azure MFA extensions on the NPS server
- Login to https://portal.azure.com
- In the Azure portal menu, select Azure Active Directory, or search for and select Azure Active Directory from any page.
- Select Properties.
- To copy your Azure AD ID, select the Copy button
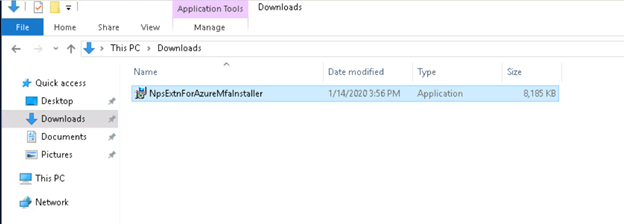
- Download the NPS extension from https://www.microsoft.com/en-us/download/details.aspx?id=54688
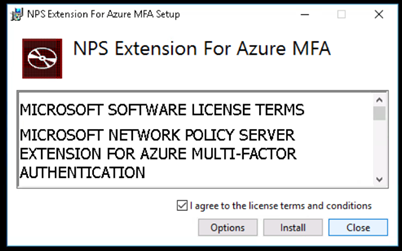
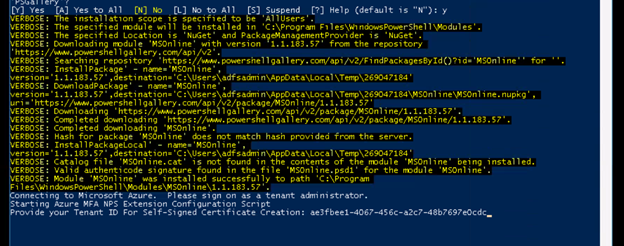
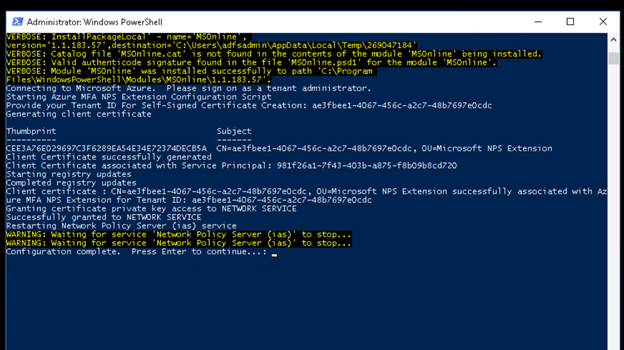
Once you hit enter, it will prompt for login, please enter the Office365 administrator credentails.
-
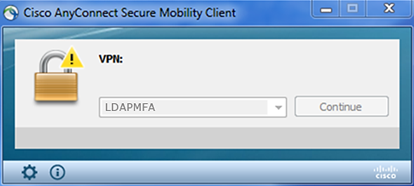
Login to the Cisco AnyConnect client and check the MFA is working fine
- On a computer, launch the AnyConnect client and connect to the network
Example:
- Enter user credentials
- Check the Microsoft Authenticator App for the notification
Example:
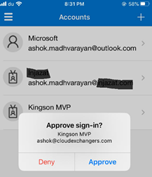
- The authentication application will communicate with the MFA server to complete authentication
- Note: Here, I have set the preferred method as Notify Authenticator App in MFA settings and in the NPS Policy for Cisco, it is set to MS-CHAPV2
Also, we can verify the event ID’s on the NPS server for verification,
Event id 6272 in the security logs for NPS. For Azure MFA, Application and Services Log -> Microsoft -> AzureMfa
References:
https://docs.microsoft.com/en-us/azure/active-directory/authentication/howto-mfaserver-nps-vpn
https://docs.microsoft.com/en-us/azure/active-directory/authentication/howto-mfa-nps-extension-vpn
https://docs.microsoft.com/en-us/azure/active-directory/authentication/howto-mfa-nps-extension
Happy learning!! 🙂
Am I missing something or you seriously plan to connect to NPS using LDAP? NPS is not even listening on TCP 389 (https://docs.microsoft.com/en-us/windows-server/networking/technologies/nps/nps-plan-server#:~:text=The%20default%20ports%20are%20UDP,RADIUS%20traffic%20to%20be%20allowed.). You should use standard Radius interface I guess (https://www.cisco.com/c/en/us/support/docs/security/asa-5500-x-series-next-generation-firewalls/117641-config-asa-00.html)
Thank you for the feedback! Have updated the screenshots, beginning of the article has the flow diagram with RADIUS.
I noticed you configured the ASA to use LDAP integration, but I thought NPS was used for RADIUS communication. Can you confirm the ASA should be using LDAP, and not RADIUS?
Thank you for the feedback! Yes, it is RADIUS for NPS. Modified the screenshots.
thanks a lot Ashok