
Migrating data especially importing PST files always been a tedious task and pain for an administrators. Utilizing the local cache always won’t be seamless solution for the users to access the data. Now after Microsoft has launched this new Import service tool, Importing PST’s wont be big challenge for Office365 admins. Here we will see how to utilize this service.
This process follows:
- Consolidate PST data to network share
- Assign “Import & Export” RBAC permission to access Import service
- Install Azure Import tool
- Prepare CSV file to start importing
- Obtain Unique URL Key
- Start upload
Consolidate Data:
Consolidate all PST’s and keep it in network share or Drive.
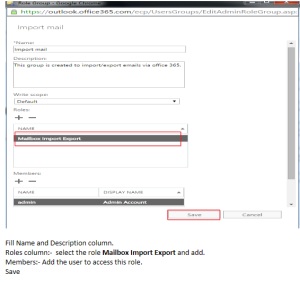
Assign “Import & Export” RBAC permission to access Import service
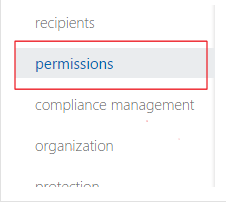
- Login in ECP
- Go to permissions
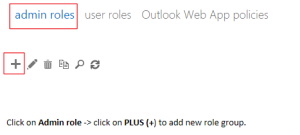
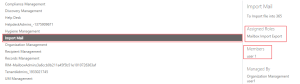
- Create new admin role
- Select “Mailbox Import Export”
- Add members who need access
Refer Screenshots below:
Prepare CSV file to start importing
Create Csv as mentioned below:
Make one line in the CSV for each PST you wish to import. In the FilePath column for each PST, enter the full “Friendly Path” to that PST. “Friendly Path” means take the path to the PST in your system, and change “\” slashes to “/” slashes, and remove leading slashes, for example:
pst “cy13.pst” stored at \\SERVER01\PSTshareR1\Kingsonfolder, the FilePath column becomes SERVER01/PSTshareR1/Kingsonfolder
The following figure is an example spreadsheet that you can use as a model to create your file:

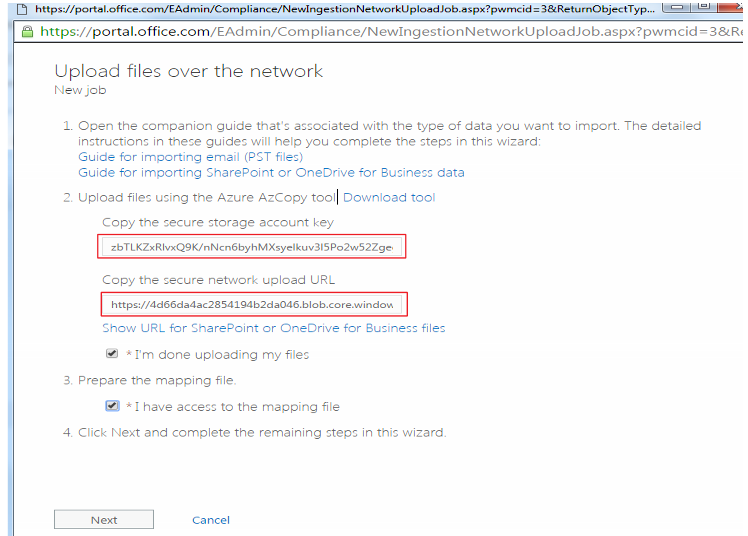
Obtain Unique URL Key
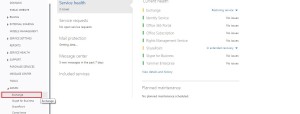
- Login to Office365 admin center
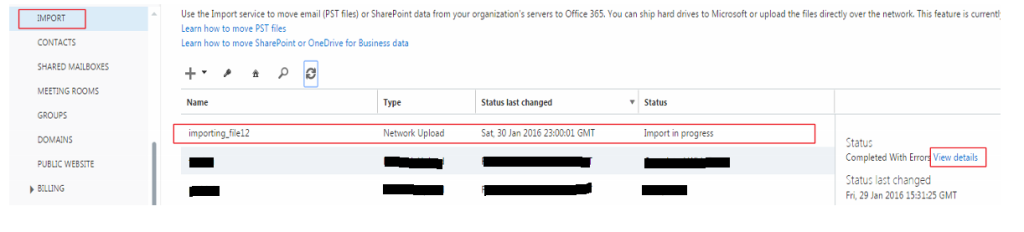
- Click on Import
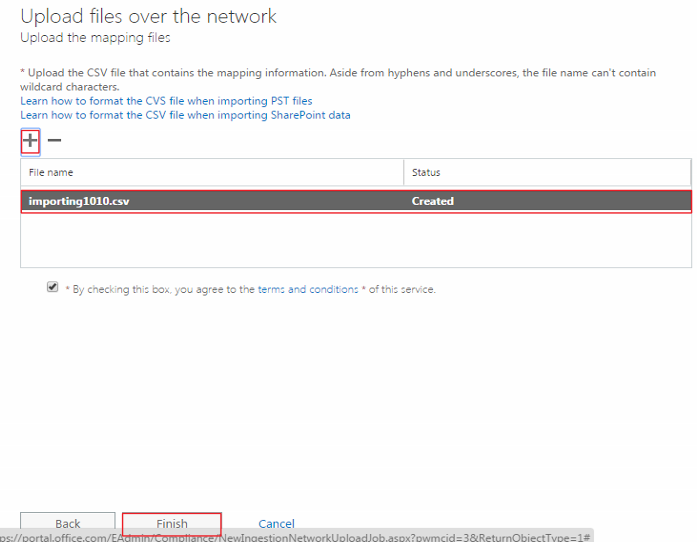
- Upload files over network
- Show Key & Show URL
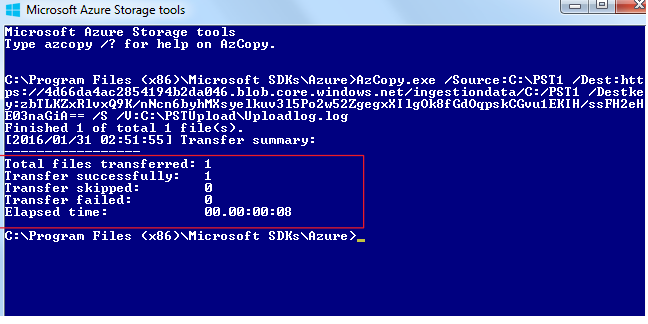
- Create a script as below
AzCopy.exe /Source:C:\PST1 /Dest:https://4d66da4ac2854194b2da046.blob.core.windows.net/ingestiondata/C:/PST1 /Destkey:zbTLKZxRlvxQ9K/nNcn6byhMXsyelkuv3l5Po2w52ZgegxXIlgOk8fGdOqpskCGvu1EKIH/ssFH2eHE03naGiA== /S /V:C:\PSTUpload\Uploadlog.log
Check the Slashes (\) in Source and DEST (/)

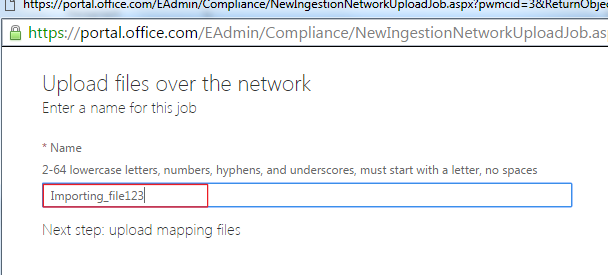
Now start the Mapping Job from Office365 Portal:
Follow the screenshots:

More details : Click here
Feel free to comment for any questions.
[…] Note : OWA doesn’t have export PST option, It requires outlook. But good news admins can Import PST’s using Exchange admin center, Follow this […]
Hello,
Thank you for such an informative and effective article. I would also like to refer here another effective and reliable PST to Office 365 migration software, which is well known as Kernel Import to Office 365. By using it, you can easily Import complete PST/OST data, including Emails, Contacts, Calendars, etc. into Office365 without any hassle. This software migrates only healthy PST/OST files to Office 365 mailbox. The software compatible with all Outlook versions and Office 365 editions.For any other query about the tool, visit: https://www.nucleustechnologies.com/import-pst-to-office-365/