
In Last article, We discussed how to encrypt emails in Office365, In this article I am going to share how to send protected documents. If your organization has compliance requirement to send protected documents, Rights Management is the best option to achieve.
To configure Azure RMS (Right Management ) all you need is the Enterprise E3 or above or Azure Premium Subscription. For more details refer to Requirements for Azure Rights Management
|
Azure Rights Management services (RMS) can be purchased with Office 365, with the Enterprise Mobility Suite (EMS), or as a standalone subscription. There are differences in Azure RMS capabilities when purchased through these offerings. The following table shows these differences and might be subject to updates. Source : Microsoft Technet
|
|
.png)
Below is diagram of workflow for RMS configuration: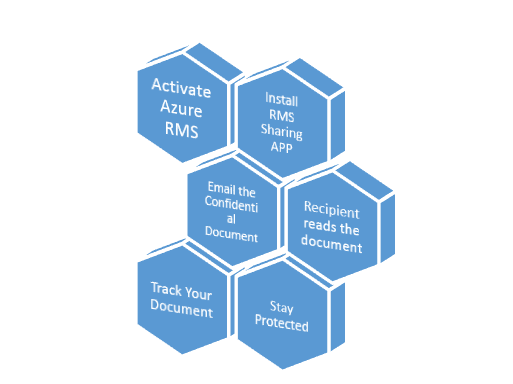
Step 1: Activate Azure Rights Management License
- Login to Office365 Portal
- Service Settings on Left Pane- > Rights Management-> Manage
- Click on “Activate”
Below is the screen, You will see post activation.

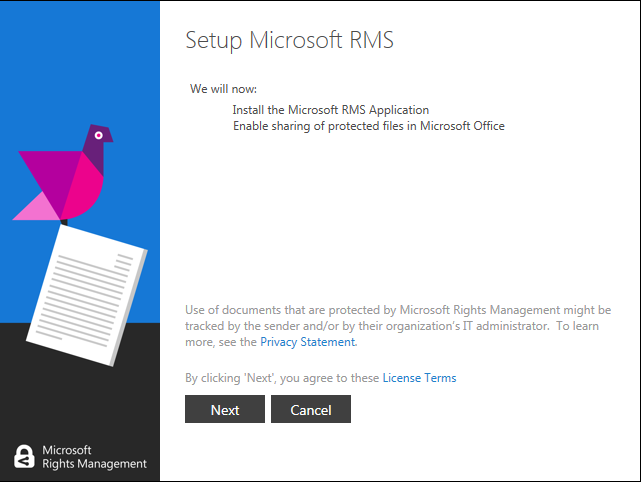
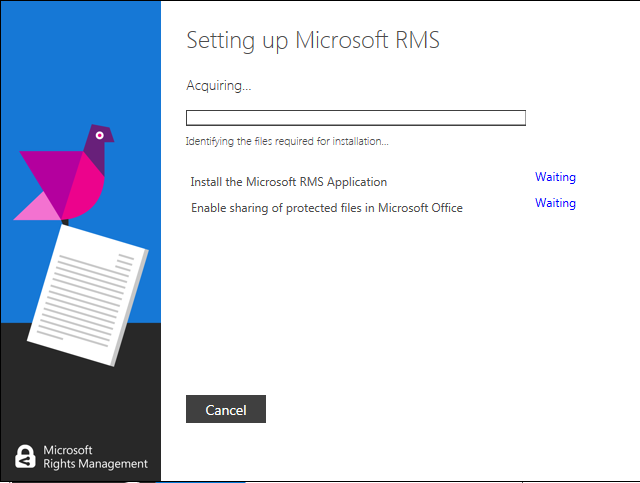
Step 2 : Install RMS Sharing APP
Just Click here to download & Run Setup.exe files, you are done. Refer to screenshots below:
After installing your outlook will configure this Plug in (Share Protected) as below, If not you can add using add-in console from outlook.

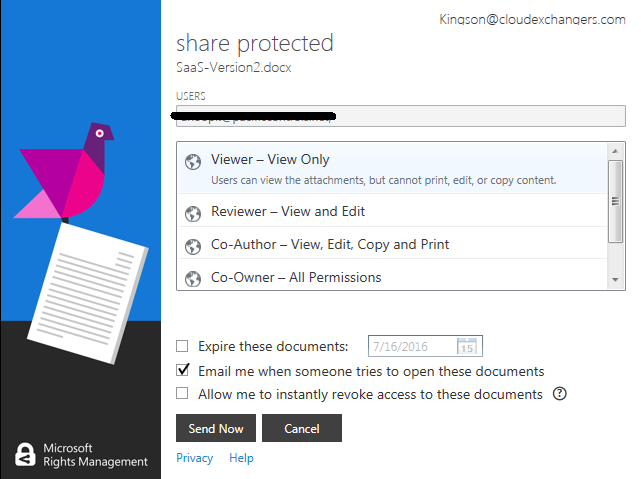
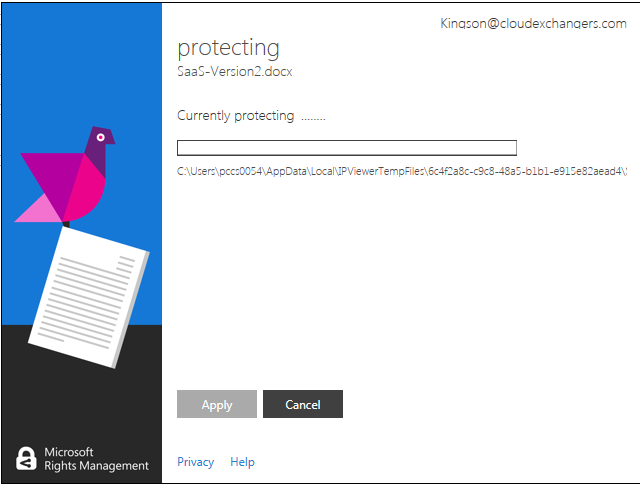
Step 3: Email the Confidential Document:
Now, that you have configured RMS with sharing app, Next we are going to send a email with protected documents.
Step 4: Recipients reads the document
Recipients will be notified with below message:
The sender has protected the attachments with Microsoft RMS. You must sign in to open them.
When they click Sign in, it takes them to instructions to install the RMS sharing app and if necessary, sign up for a free account. The free account grants them a subscription for RMS for individuals, which ensures that authorized users can always read a protected document, even if their organization does not have Azure RMS. They are then ready to read the protected attachment.
Step 5: Track your Document
You can track your document using this option, It requires azure premium license or paid enterprise versions.
Step 6: Stay Protected
Conclusion : Office365 has got lot of in-built security features can be utilized which can ensure compliance for your organization.
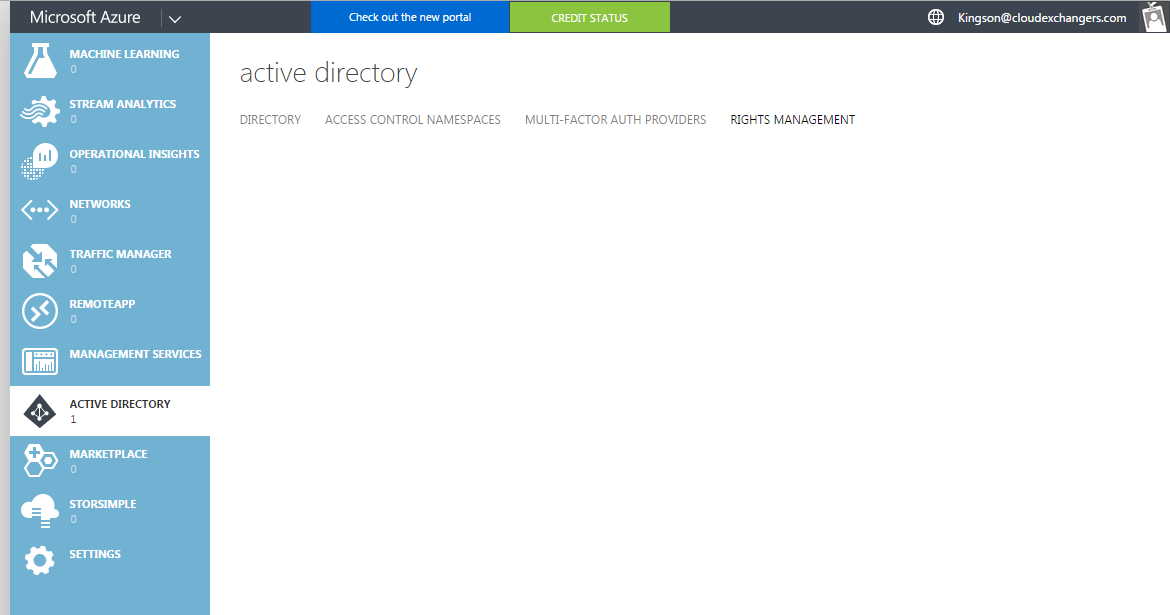
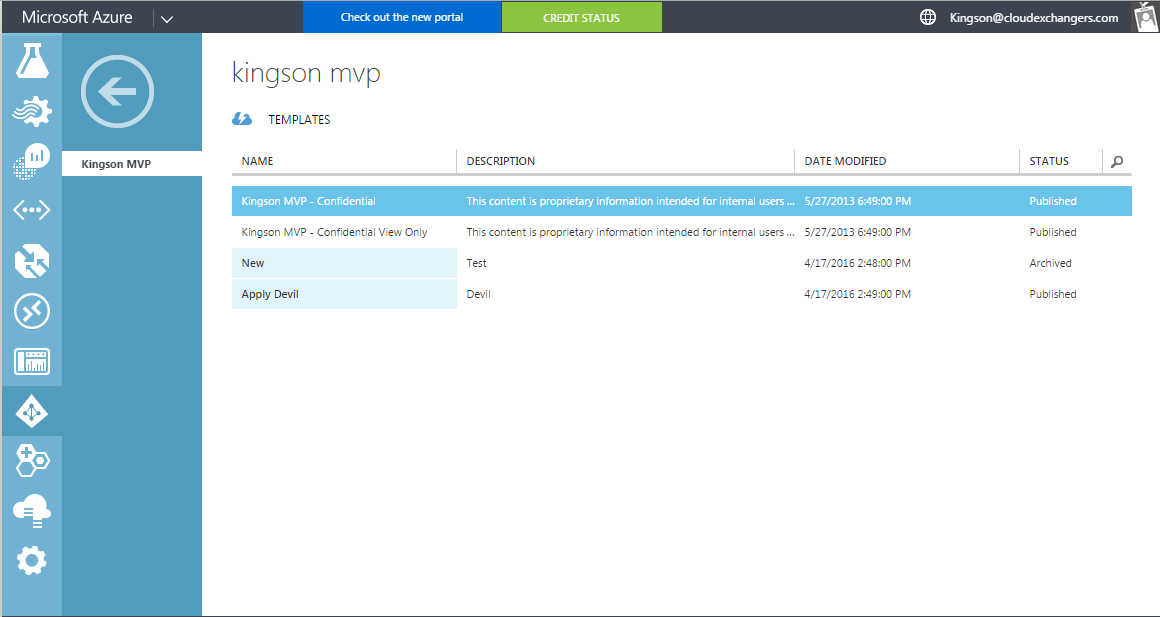
You can also create multiple templates in Azure AD Console as mentioned below & Manage existing template or create new template.
You can also enable this feature for SharePoint Online by following this
Stay protected 🙂
Feel free to comment for questions or suggestions.