Step by step installation of Exchange 2016
I’ve used Windows Server 2012 R2 servers for both Exchange and Domain Controllers here. Assuming, no prior versions of Exchange have been installed into the lab, and Exchange 2016 will be deployed from scratch. We will be deploying Exchange 2016 using the graphical interface here. There are only two roles in Exchange 2016: Mailbox and Edge Transport. I’ll be doing the mailbox role installation here.
Hardware Requirements:
Processor:
- x64 architecture-based computer with Intel processor that supports Intel 64 architecture.
- AMD processor that supports the AMD64 platform
- Intel Itanium IA64 processors not supported
Memory:
- Mailbox 8GB minimum
- Edge Transport 4GB minimum
Storage:
- At least 30 GB on the drive on which you install Exchange
- An additional 500 MB of available disk space for each Unified Messaging (UM) language pack that you plan to install.
- 200 MB of available disk space on the system drive.
- A hard disk that stores the message queue database on with at least 500 MB of free space.
Operating System:
- Windows Server 2012 R2 Standard or Datacenter
- Windows Server 2012 Standard or Datacenter
Supported clients:
- Outlook 2016
- Outlook 2013
- Outlook 2010 with KB2965295
- Outlook for Mac for Office 365
- Outlook for Mac 2011
Exchange 2016 prerequisites:
-
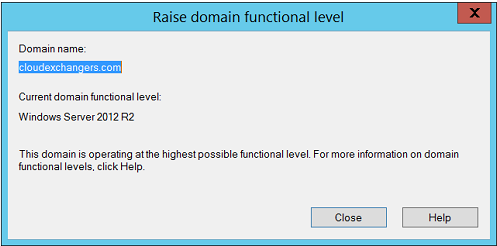
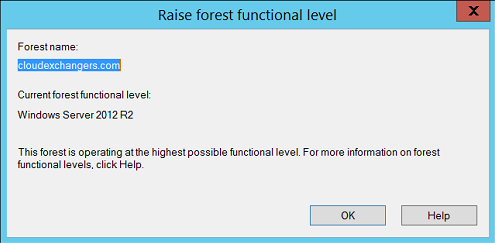
Make sure that the functional level of your forest is at least Windows Server 2008, and that the schema master is running Windows Server 2008 or later.
-
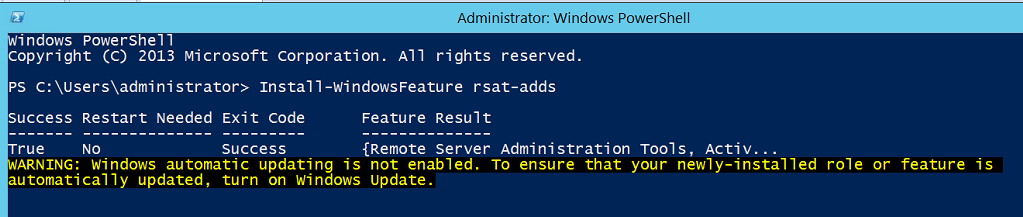
Install the Remote Tools Administration Pack
Install-WindowsFeature RSAT-ADDS
- The prerequisites that are needed to install Exchange 2016 on computers running Windows Server 2012 or Windows Server 2012 R2 depends on which Exchange role you want to install. Run the below command to install the required Windows roles and features for mailbox role.
Install-WindowsFeature AS-HTTP-Activation, Desktop-Experience, NET-Framework-45-Features, RPC-over-HTTP-proxy, RSAT-Clustering, RSAT-Clustering-CmdInterface, RSAT-Clustering-Mgmt, RSAT-Clustering-PowerShell, Web-Mgmt-Console, WAS-Process-Model, Web-Asp-Net45, Web-Basic-Auth, Web-Client-Auth, Web-Digest-Auth, Web-Dir-Browsing, Web-Dyn-Compression, Web-Http-Errors, Web-Http-Logging, Web-Http-Redirect, Web-Http-Tracing, Web-ISAPI-Ext, Web-ISAPI-Filter, Web-Lgcy-Mgmt-Console, Web-Metabase, Web-Mgmt-Console, Web-Mgmt-Service, Web-Net-Ext45, Web-Request-Monitor, Web-Server, Web-Stat-Compression, Web-Static-Content, Web-Windows-Auth, Web-WMI, Windows-Identity-Foundation -Restart
 4. Install .NET Framework 4.5.2 on the computer from where we are planning to prepare Active Directory.
. 
. 
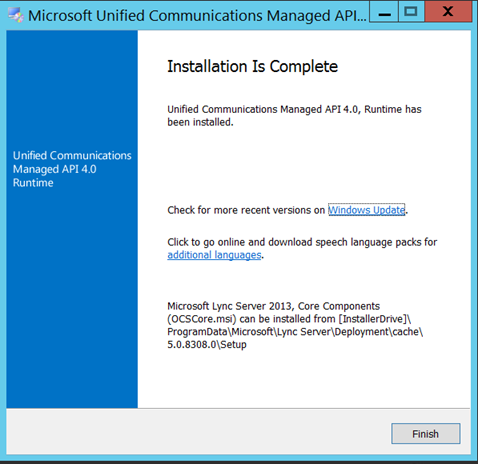
5. Install Microsoft Unified Communications Managed API 4.0, Core Runtime 64-bit.
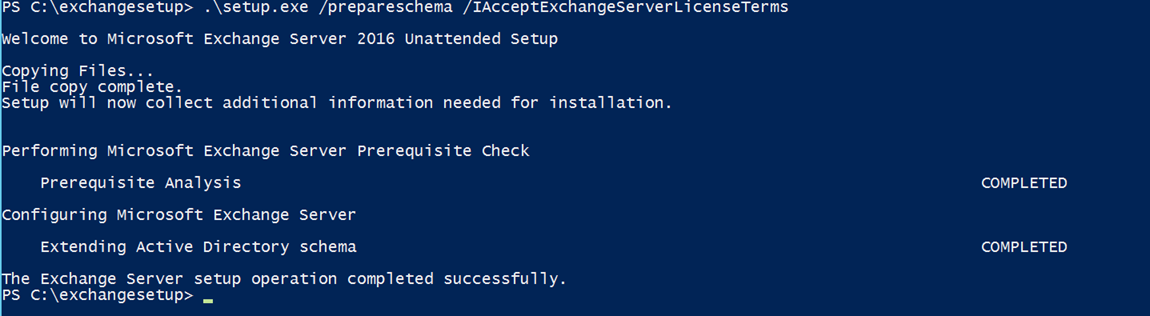
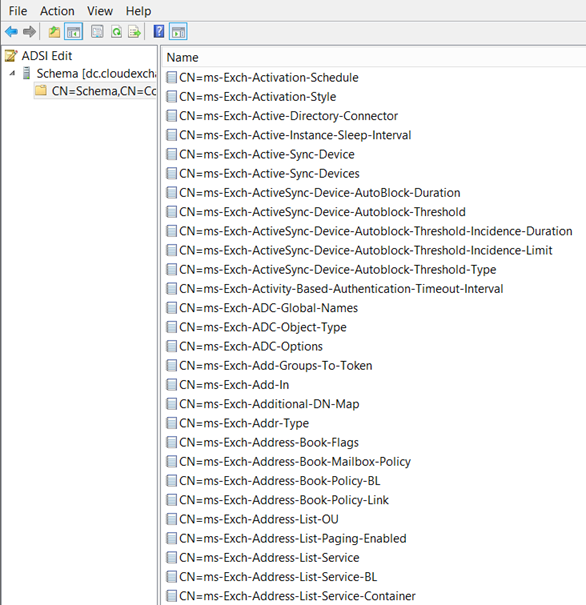
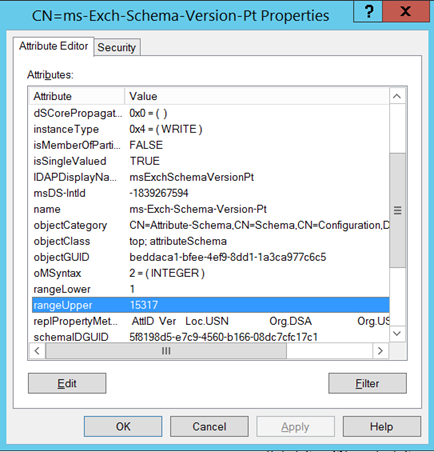
Prepare Schema:
Extending the Active Directory schema adds and updates classes, attributes, and other items. These changes are needed so that Exchange can create containers and objects to store information about the Exchange organization. Because Exchange makes a lot of changes to the Active Directory schema. After Exchange is finished extending the schema, it sets the schema version, which is stored in the ms-Exch-Schema-Version-Pt attribute. If you want to make sure that the Active Directory schema was extended successfully, you can check the value stored in this attribute. If the value in the attribute matches the schema version listed for the release of Exchange 2016 you installed, extending the schema was successful.
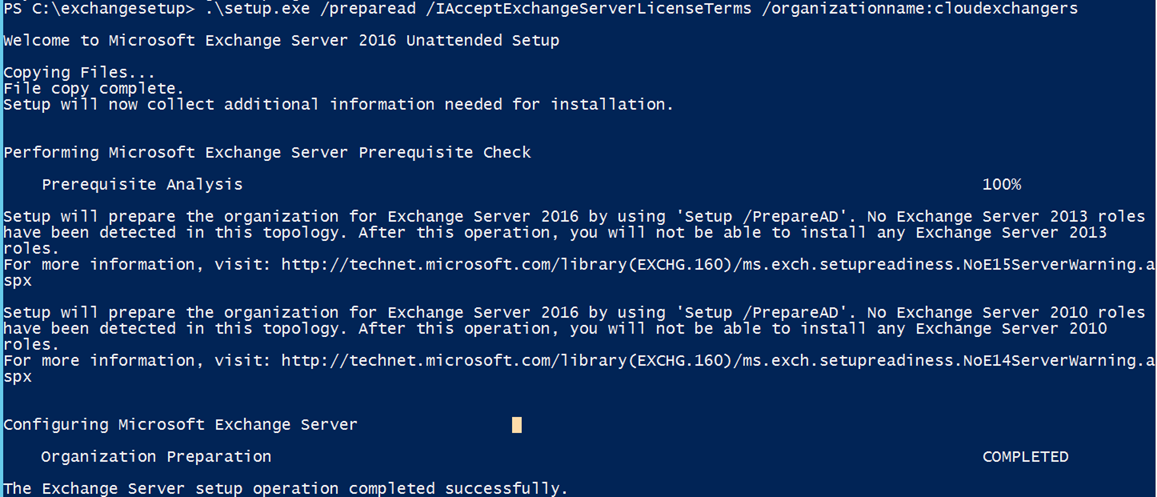
Prepare Active Directory
During this step, Exchange will create containers, objects, and other items in Active Directory that it’ll use to store information. The collection of all of the Exchange containers, objects, attributes, and so on, is called the Exchange organization.
When you run the command below to prepare Active Directory for Exchange, you’ll need to name the Exchange organization. This name is used internally by Exchange and isn’t normally seen by users. The name of the company where Exchange is being installed is often used for the organization name. The name you use won’t affect the functionality of Exchange or determine what you can use for email addresses. You can name it anything you want, as long as you keep the following in mind:
- You can use any uppercase or lowercase letters from A to Z.
- You can use numbers 0 to 9.
- The name can contain spaces as long as they’re not at the beginning or end of the name.
- You can use a hyphen or dash in the name.
- The name can be up to 64 characters but can’t be blank.
- The name can’t be changed after it’s set.
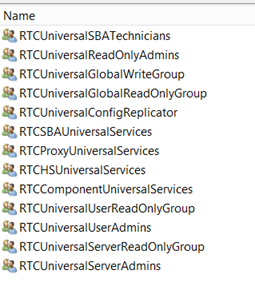
Below RTC & CS* groups are created once the step is completed.

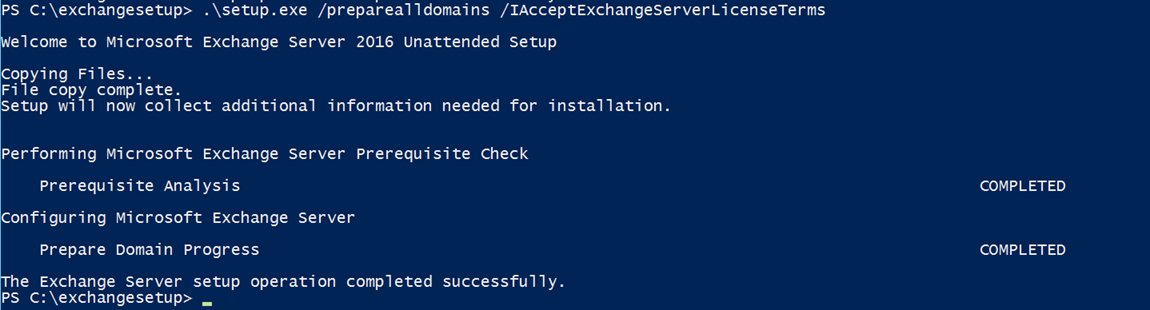
Prepare Active Directory domains
The final step to get Active Directory ready for Exchange is to prepare each of the Active Directory domains where Exchange will be installed or where mail-enabled users will be located. This step creates additional containers and security groups, and sets permissions so that Exchange can access them.
I will be continuing with the installation of exchange in “Step by step installation of Exchange 2016(Part2)” of this article.
If I want to created a 2 MBX server DAG with Exchange server 2016, what would be the steps to install Exchange 2016 on the d server?
Proceed to install another exchange server 2016 and add them into DAG Member. Refer this link for more details : https://technet.microsoft.com/en-us/library/dd351172(v=exchg.160).aspx