As you all may know Lync is now rebranded as Skype for Business. Just like Lync Business offers features including presence, IM, voice and video calls, and online meetings. Skype for Business provides a new client experience, a next level of collaboration service in Office 365. If users in your organization are migrated from Lync to Skype for Business, they’ll recognize all of the features they already use but in a fresh new interface with simplified controls and new additions. In addition to the new client experience, Skype for Business Server 2015 provides several new features to improve manageability of on-premises servers and hybrid solutions.
In this blog, I will be walking through the simple Skype for Business Standard installation step by step here.
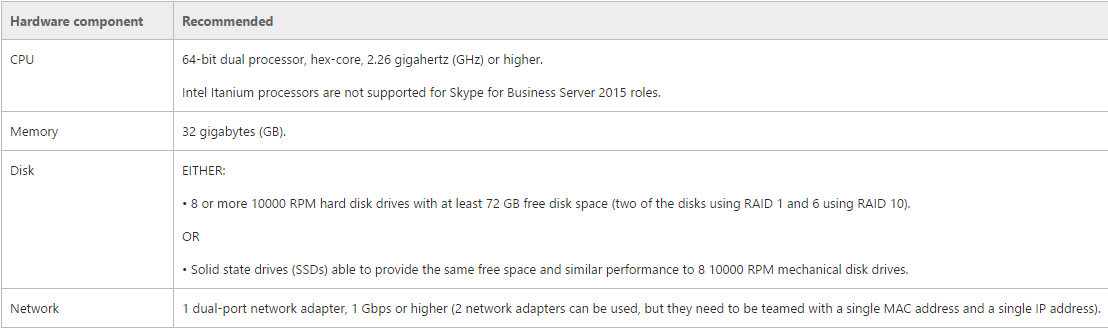
Recommended hardware requirements to install a SFB Standard server are as below:
Operating Systems for Skype for Business Server 2015:

If it’s not on this list, it won’t work properly, please don’t try it for new installs of Skype for Business Server 2015.
Here I will be walking you through the step by step installation of a Skype for Business Standard edition server.
Prerequisites for Skype for Business Standard Server:
-
Create Basic File Share:
Skype for Business Server requires a file share so that computers throughout the topology can exchange files. Since this is a standard server installation, I’m leaving the Fileshare in same box.
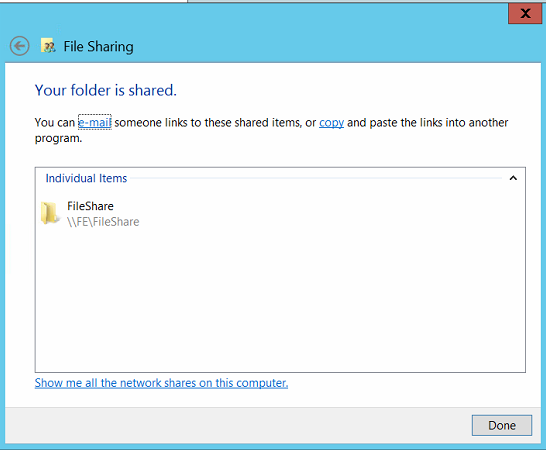
Crete a folder named “Fileshare” and share it as below.
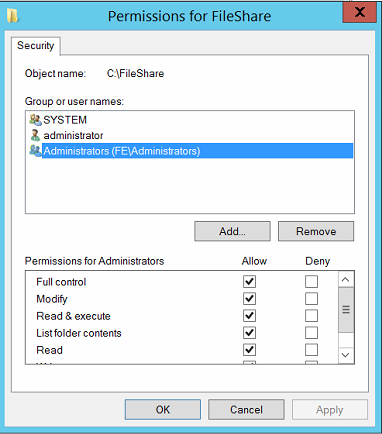
Make sure administrators group has full access permission on it.
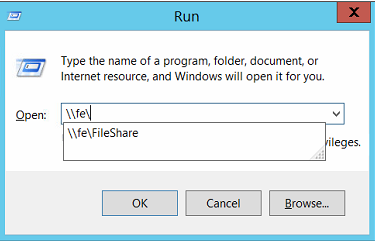
Validate if it is properly shared.
2. Manually create the DNS records which are required to make the Skype for business work. Please find the table below for the list of DNS records.
| FQDN | Record Type | Resolves To | Description |
| meet.cloudexchangers.com | CNAME | fe.cloudexchangers.com | Meeting Simple URL |
| Dialin.cloudexchangers.com | CNAME | fe.cloudexchangers.com | Dial-In Simple URL |
| admin.cloudexchangers.com | CNAME | fe.cloudexchangers.com | Administration URL |
| Lyncdiscoverinternal.cloudexchangers.com | CNAME | fe.cloudexchangers.com | Internal SfB Client Auto Discovery |
| sip.cloudexchangers.com | A | 192.168.1.3 | Legacy Client Discovery |
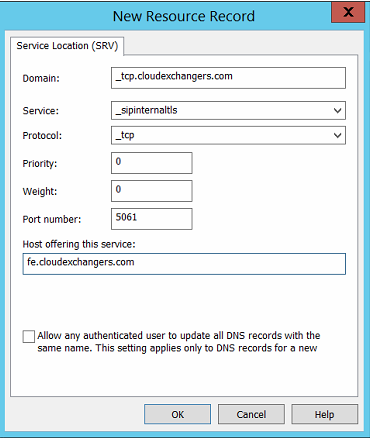
| _sipinternaltls._tcp.cloudexchangers.com | SRV | sip.cloudexchangers.com | Legacy Client Discovery |
From DNS manager create the records as below.
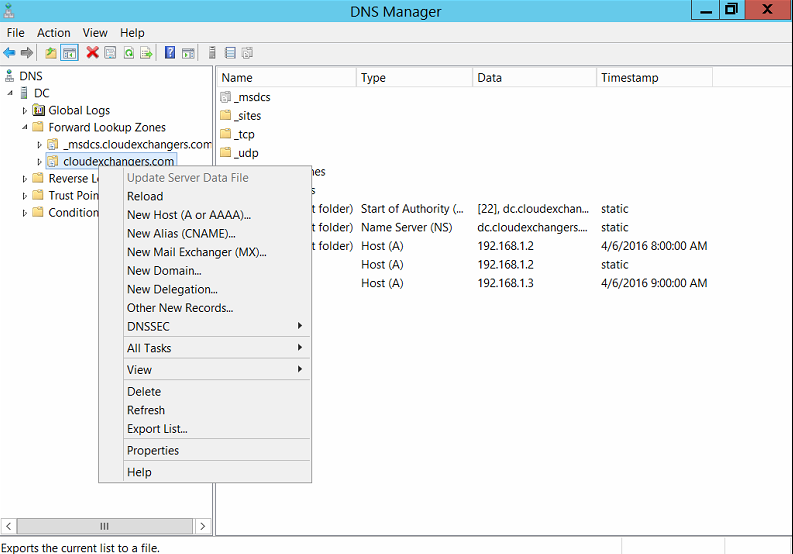
SRV record creation.
3. Windows Prerequisite Installation
From Windows PowerShell execute below commands after inserting windows installation disc.
Add-WindowsFeature NET-Framework-Core, RSAT-ADDS, Windows-Identity-Foundation, Web-Server, Web-Static-Content, Web-Default-Doc, Web-Http-Errors, Web-Dir-Browsing, Web-Asp-Net, Web-Net-Ext, Web-ISAPI-Ext, Web-ISAPI-Filter, Web-Http-Logging, Web-Log-Libraries, Web-Request-Monitor, Web-Http-Tracing, Web-Basic-Auth, Web-Windows-Auth, Web-Client-Auth, Web-Filtering, Web-Stat-Compression, Web-Dyn-Compression, NET-WCF-HTTP-Activation45, Web-Asp-Net45, Web-Mgmt-Tools, Web-Scripting-Tools, Web-Mgmt-Compat, Server-Media-Foundation, BITS -Source D:\sources\sxs -Restart
The above command installs .NET Frameworkpackage, the Remote Server Administrative Tools, and all additional prerequisites.
Important: Ensure that the below Operating System Hot fixes are installed.
KB2533623 Windows Server 2008 R2
KB2858668 Windows Server 2012
KB2982006 Windows Server 2012 R2
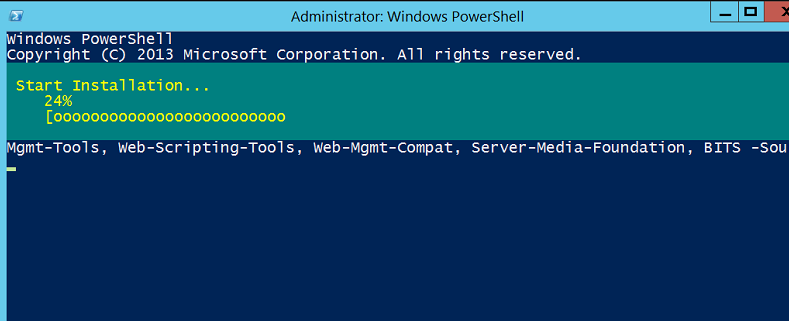
Once the above command is completely executed, the server will be automatically restarted.
Skype for Business Setup:
-
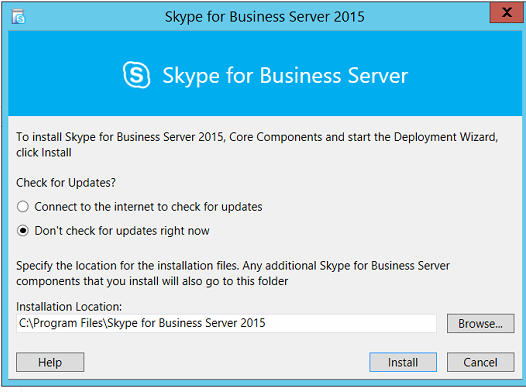
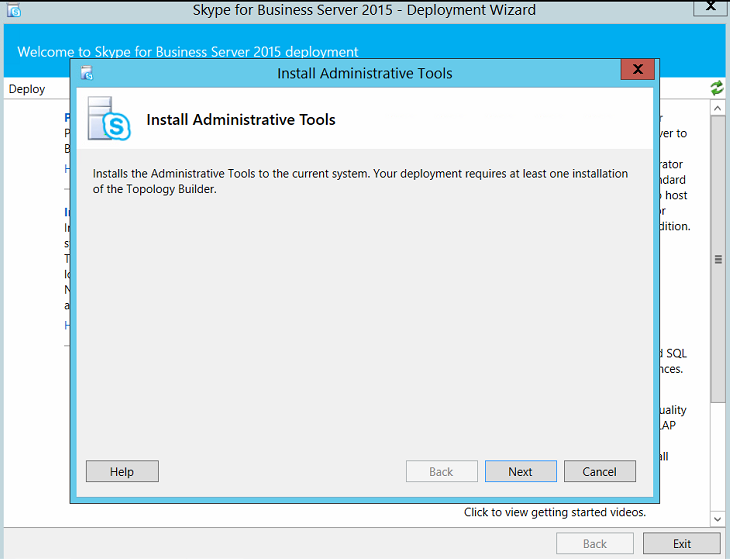
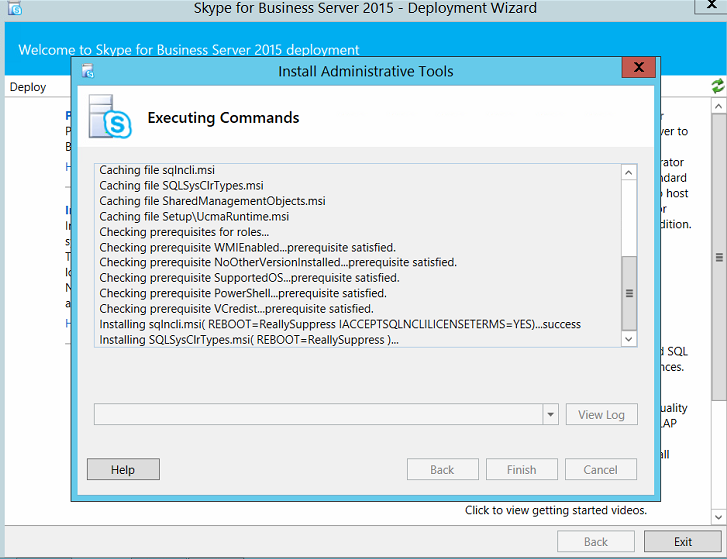
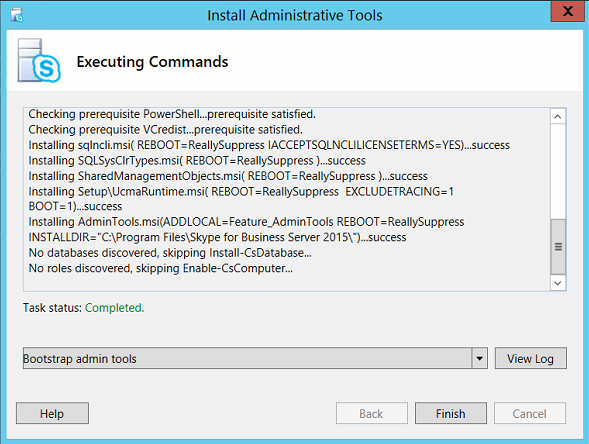
Install Skype for Business Server Admin Tools
Insert the Skype for business Installation Media and follow the below steps.
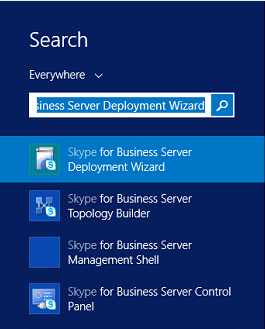
Once completed you will find all the tools displayed in the windows search as below.
2. Prepare Active directory.
Skype for Business Server works closely with Active Directory. You must prepare the Active Directory domain to work with Skype for Business Server.
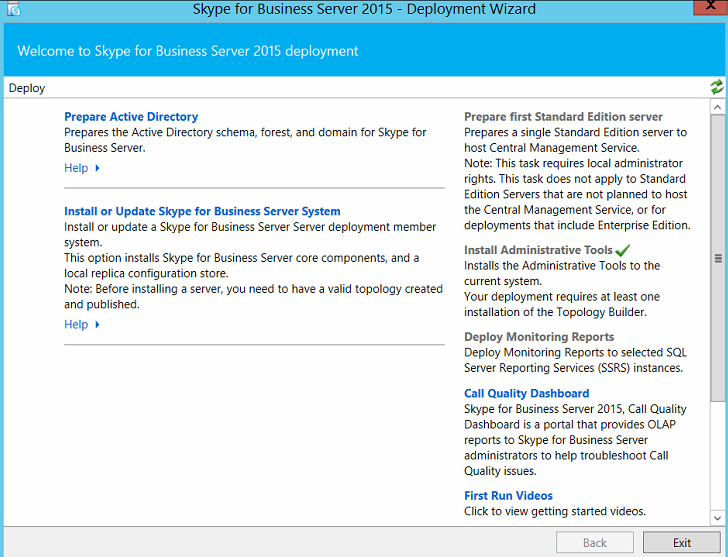
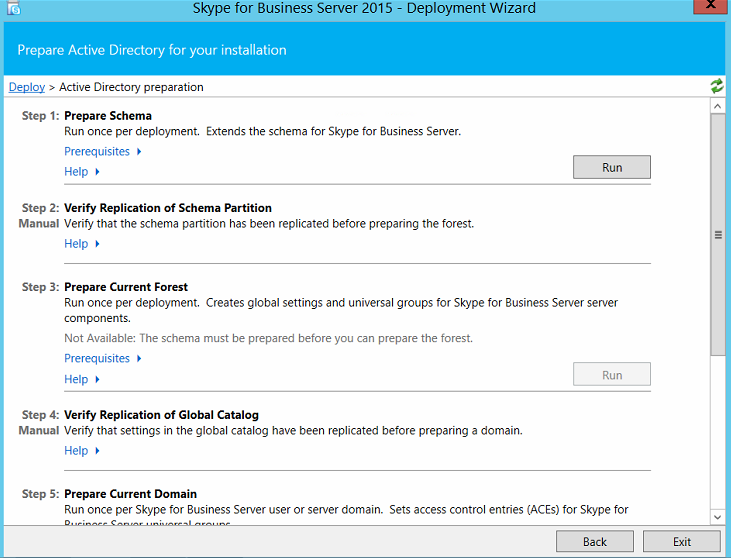
This process is accomplished in the Deployment Wizard and is only done once for the domain. This includes three steps as below.
- Prepare Schema
- Prepare Forest
-
Prepare Domain
Prepare Schema:
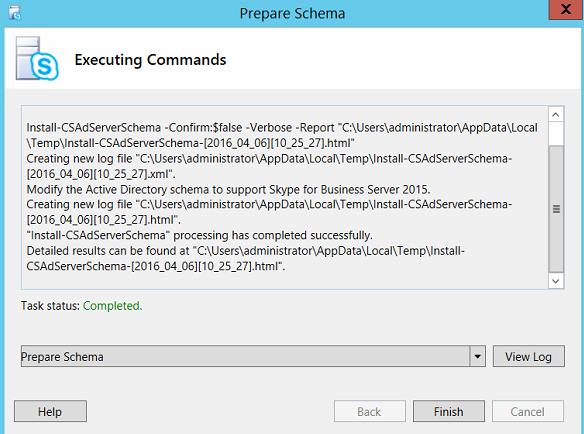
Once completed, open adsiedit.msc and connect to the Schema container and check for various ‘ms-RTC-SIP…‘ schema attributes have been created.
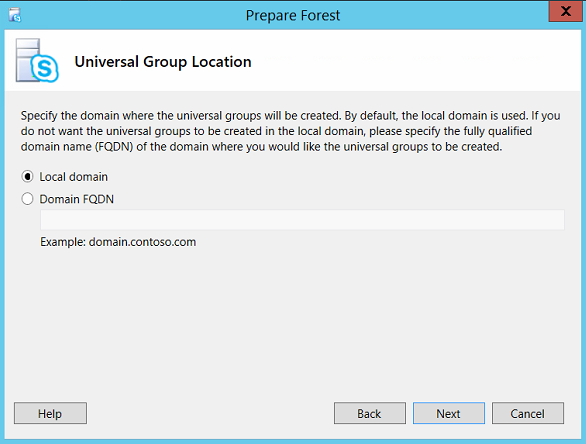
Prepare Forest
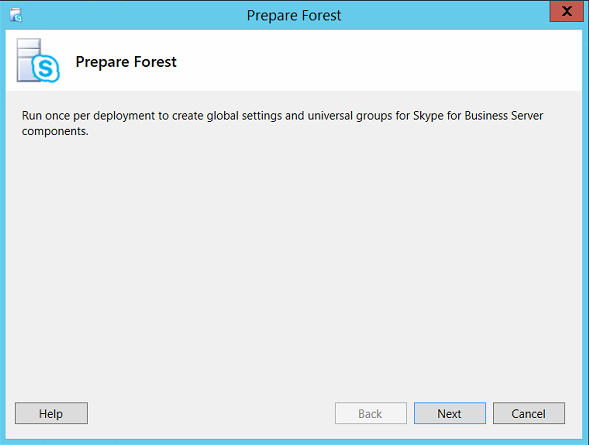
Prepare Current Forest and select the Local Domain as the Universal Group Location, if you need to keep the security group in another domain in the same forest please specify the respective domain name.
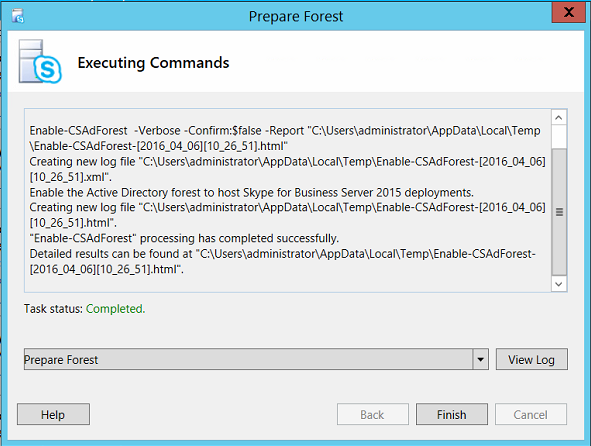
Once completed you will find a number of groups starting with ‘CS’ and ‘RTC’ in their names.
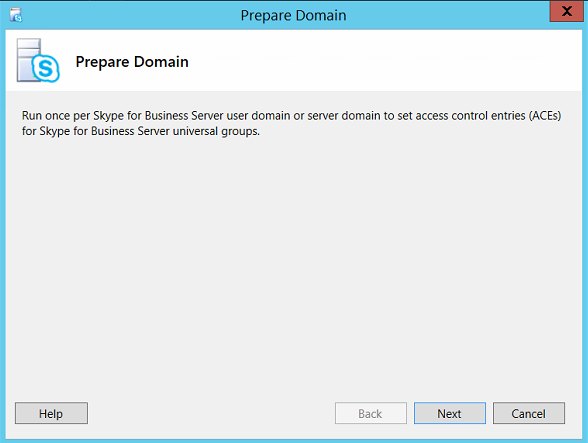
Prepare Domain.
Similarly perform the prepare Domain as below.
By now we had completed the Active directory preparation to install Skype for Business. Please find the continuation on part2.
Other related articles
Step by step installation of Skype for Business 2015- Part 2
Step by step installation of Skype for Business 2015- Part 3