Simple Integration between Exchange 2016 and Skype for Business Server
Things to know before you start:
Normally when we talk about Server-to-server authentication it means two servers that need to communicate with one another and a third-party security token server helps for the same by providing a security token. If Server A and Server B need to communicate, they both contact a common token server and obtain a mutually-trusted security token. Both the server present the mutually trusted token to authenticate to each other.
However Microsoft Exchange, Skype for business and SharePoint doesn’t require such third party Mutually trusted token issuer.
Two step integration process:
In order to set up server-to-server authentication between Skype for Business Server and Exchange below, 2 steps should be followed.
1. Assign the appropriate certificates to each server
Exchange has inbuilt Auth certificate, self-signed.

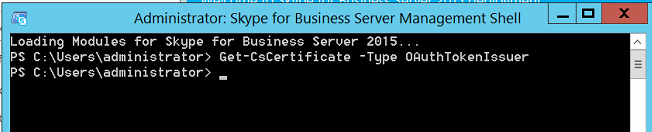
However in Skype for Business, we don’t have one by default. Below screenshot shows it is not present.
When you try to add skype for business as a partner application from exchange it may fail as below if Oauth cert is absent in the Skype for business server.

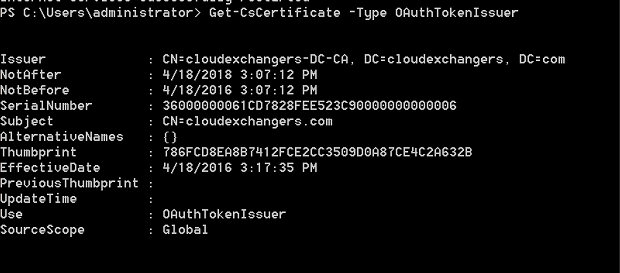
Get-Cscertificate should give below expected output.
2. Configure each server to be a partner application of the other server:
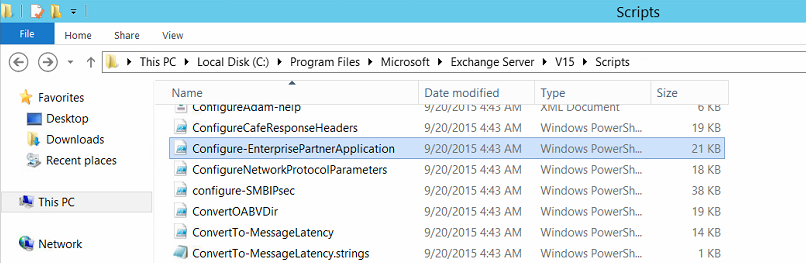
Configuring Skype for Business Server 2015 to be a Partner Application for Exchange 2016
C:\Program Files\Microsoft\Exchange Server\V15\Scripts>.\Configure-EnterprisePartnerApplication.ps1 -AuthMetaDataUrl ‘https://fe.cloudexchangers.com/metadata/json/1‘ -ApplicationType Lync


Configuring Exchange 2016 to be a Partner Application for Skype for Business Server 2015.
Validate Autodiscover url before you start, if it is not set properly use Set-ClientAccessService -Identity <fqdn> –AutoDiscoverServiceInternalUri.

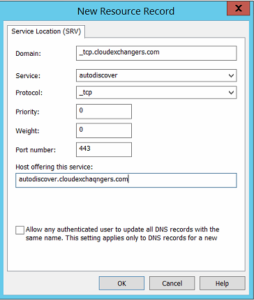
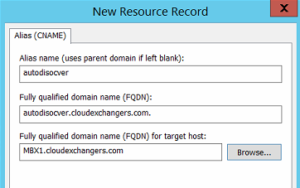
Make sure the below DNS records are created.
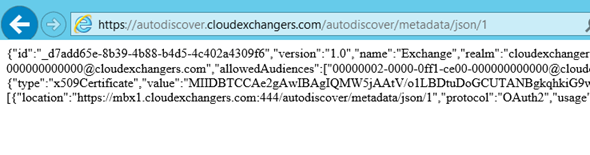
Try accessing the autodiscover meta data url. Metadata file should be accessible as below from skype for business server.
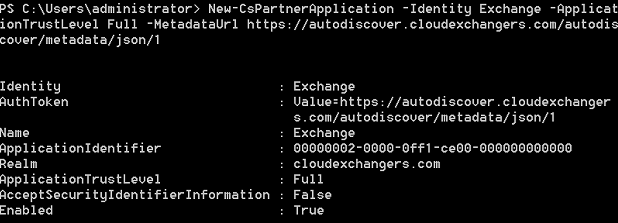
Run the below command from Skype for business server to add exchange as a partner application.
New-CsPartnerApplication -Identity Exchange -ApplicationTrustLevel Full -MetadataUrl https://autodiscover.cloudexchangers.com/autodiscover/metadata/json/1
Validate the server to server authentication by running below command from Skype for business shell.

By now we had configured Server-Server authentication between Exchange 2016 and Skype for Business 2016 server.
Happy Learning….!!!!
If you have any feedback or suggestions, please comment below.
Thanks
Anoop Karikuzhiyil Babu
Former Microsoft Premier Unified Communication & Exchange Engineer.
[…] Please refer to my previous article to enable this. (Click Here) […]
[…] Please refer to my previous article to enable this. (Click Here) […]