In this series of blog post, I would like to share the steps for the Exchange 2019 disaster recovery. In the event of a hardware or software failure, multiple database copies in a DAG enable high availability with fast failover and little or no data loss. It’s important to keep the Exchange environment up and running without any interruptions to the Email services when a failure happens to the production site or datacentre. The first part of the article would cover the steps for preparing the Exchange environment across 2 Active directory sites hosted in Microsoft Azure Cloud. Please refer here for hosting production environment on Azure IaaS.
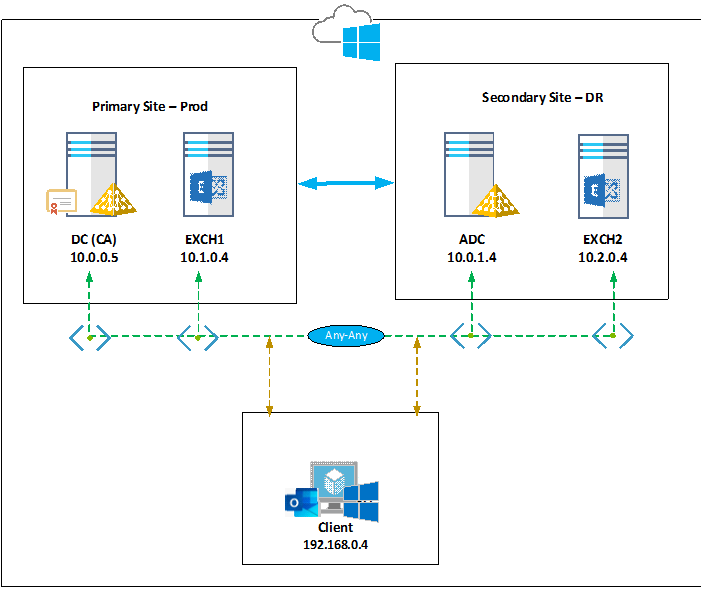
Below is the infrastructure setup with all the servers being Windows 2019 standard,
|
Server Name |
Server Role |
Site |
IP Address |
Azure Region |
VNET |
Subnet |
| DC | Active directory Primary Domain controller with Certificate Authority | Prod | 10.0.0.5 | UAE North | Dev-VNET | Prod |
| ADC | Additional Domain controller | DR | 10.0.1.4 | UAE North | Dev-VNET | DR |
| EXCH1 | Exchange 2019 CU7 Mailbox | Prod | 10.1.0.4 | West Europe | Exch-VNET | ProdExch |
| EXCH2 | Exchange 2019 CU7 Mailbox | DR | 10.2.0.4 | North Europe | DRExch-VNET | DRExch |
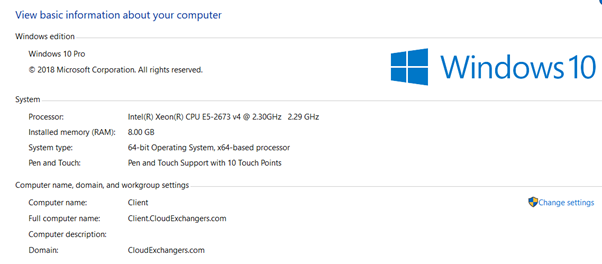
| Client | Windows 10 | 192.168.0.4 | UK South | Client-VNET | Client |
Please find the below considerations:
- It is not recommended to install the Certificate Authority in the domain controller in a production environment
- VM’s are built in different regions due to the limitation of vCPU’s in Azure Trial account
- Minimum resources were used to build Exchange 2019 but please follow the recommendations as mentioned here in the production environment
- Load balancer is not being used in this deployment
In this article, I will cover the Exchange 2019 CU7 installation and configuration using command prompt/PowerShell and will share the information of other services like Active directory, etc.
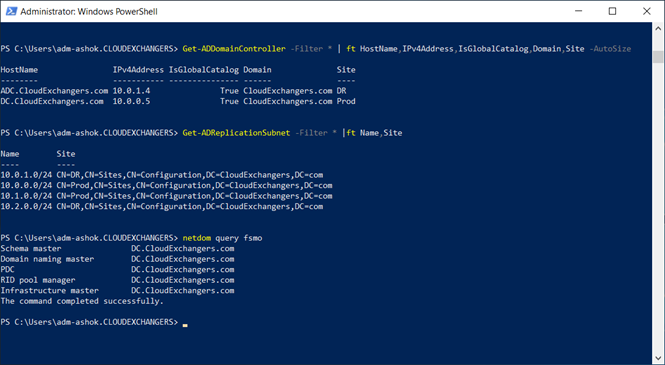
Active Directory Domain Details:
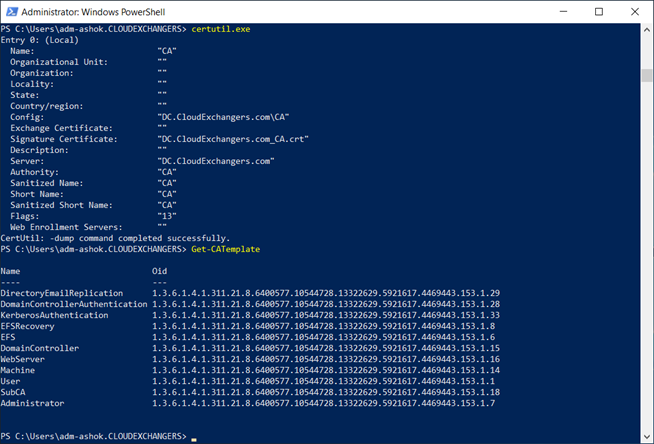
Active Directory Certificate Authority Details:
Azure IaaS details:
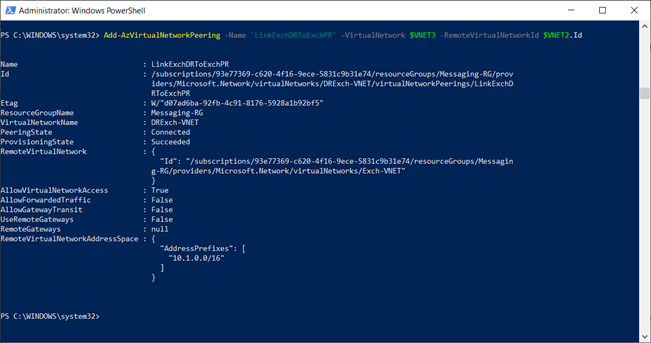
Because the VM’s are built across multiple regions, multiple VNET’s were created. It is important to allow communication between the VNET’s and creating the required Network Security Groups for Azure VM’s. I have already shared the steps involved in configuring VNET peering in this post
VNET peering:
$VNET1 = Get-AzVirtualNetwork -Name “Dev-VNET”
$VNET2 = Get-AzVirtualNetwork -Name “Exch-VNET”
Add-AzVirtualNetworkPeering -Name ‘LinkADToExchPR’ -VirtualNetwork $VNET1 -RemoteVirtualNetworkId $VNET2.Id
Add-AzVirtualNetworkPeering -Name ‘LinkPRToAD’ -VirtualNetwork $VNET2 -RemoteVirtualNetworkId $VNET1.Id
Likewise, all the VNET’s are peered between each other for communication
Network Security Groups:
Below are the rules which are created for the DC VM for the communication between the Exchange servers and Domain controllers. Similar set of rules were also created on the Exchange VM’s to allow communication between the Exchange servers.
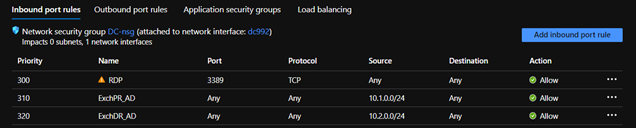

Please note: It’s not recommended to have firewall between Domain controllers and between Exchange & Domain controllers.
Exchange 2019 CU7 Installation:
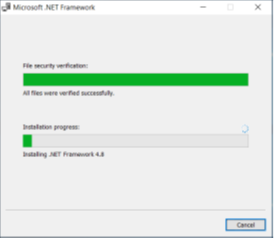
Pre-requisites
-
.NET Framework 4.8
-
Visual C++ Redistributable Package for Visual Studio 2012
- Visual C++ Redistributable Package for Visual Studio 2013

-
Unified Communications Managed API 4.0.
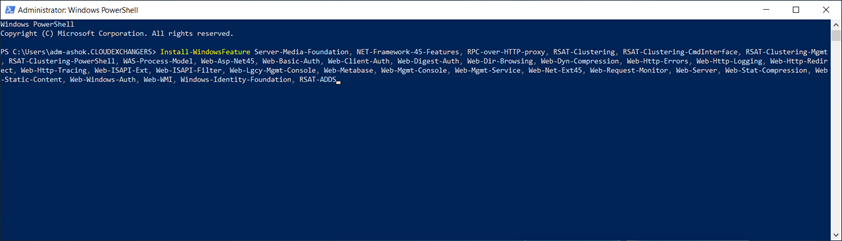
- Windows Roles and Features
Install-WindowsFeature Server-Media-Foundation, NET-Framework-45-Features, RPC-over-HTTP-proxy, RSAT-Clustering, RSAT-Clustering-CmdInterface, RSAT-Clustering-Mgmt, RSAT-Clustering-PowerShell, WAS-Process-Model, Web-Asp-Net45, Web-Basic-Auth, Web-Client-Auth, Web-Digest-Auth, Web-Dir-Browsing, Web-Dyn-Compression, Web-Http-Errors, Web-Http-Logging, Web-Http-Redirect, Web-Http-Tracing, Web-ISAPI-Ext, Web-ISAPI-Filter, Web-Lgcy-Mgmt-Console, Web-Metabase, Web-Mgmt-Console, Web-Mgmt-Service, Web-Net-Ext45, Web-Request-Monitor, Web-Server, Web-Stat-Compression, Web-Static-Content, Web-Windows-Auth, Web-WMI, Windows-Identity-Foundation, RSAT-ADDS

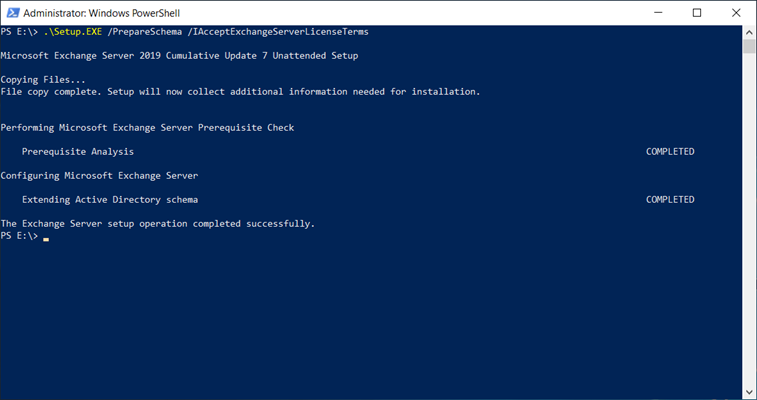
Active Directory preparation for Exchange 2019
- PrepareSchema
- PrepareAD
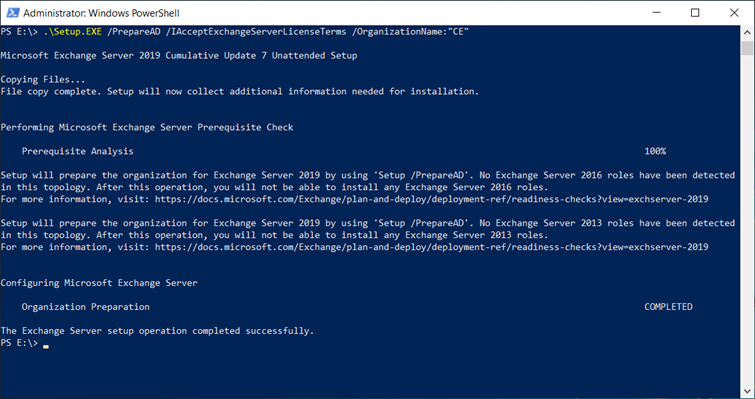
- Unattended mode installation
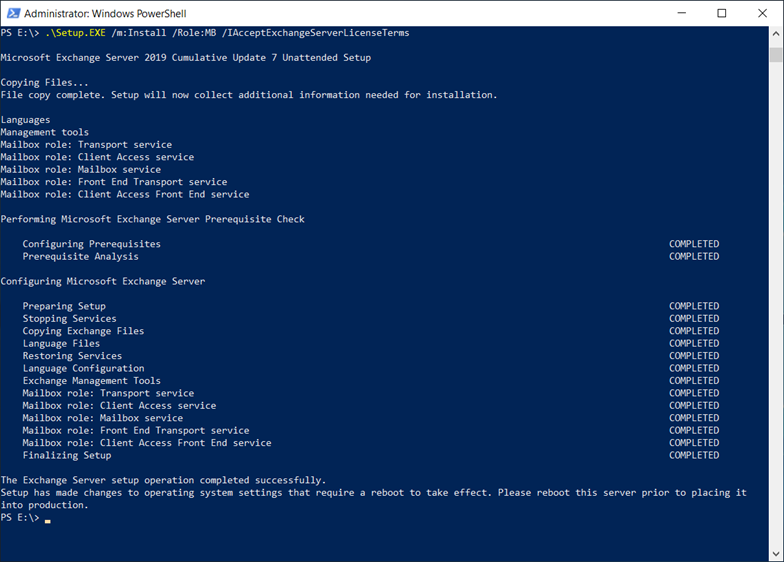
Exchange 2019 CU7 Configuration
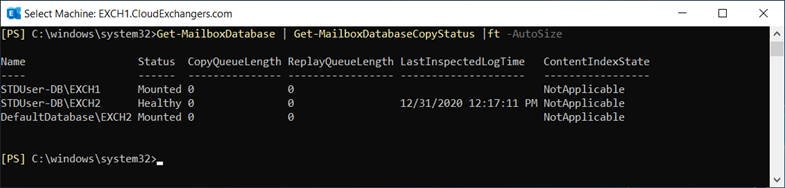
IP-Less DAG: (DAC mode enabled)
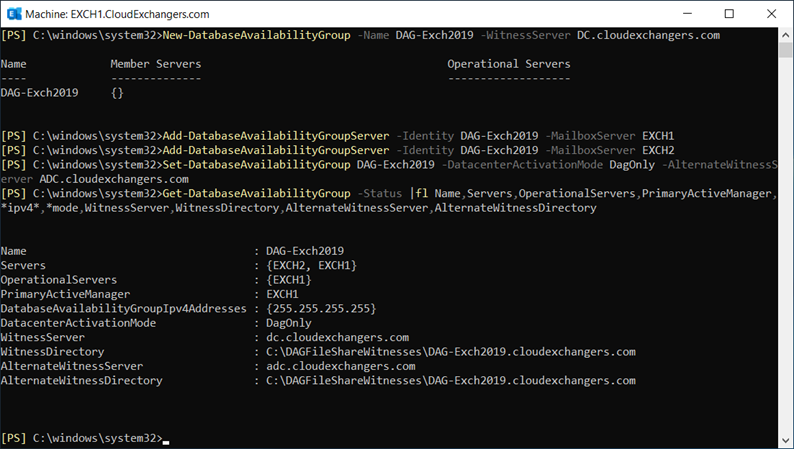
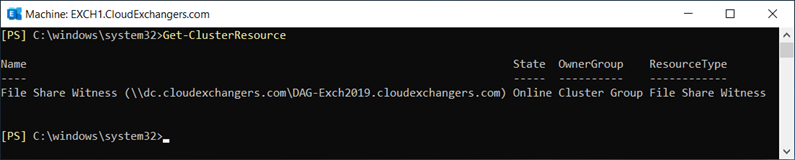
FSW:
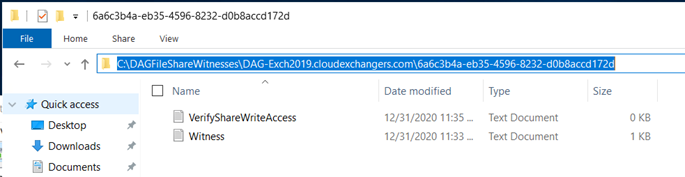
Alternate FSW: (This is optional to be specified earlier or can be done when running Restore-DAG)

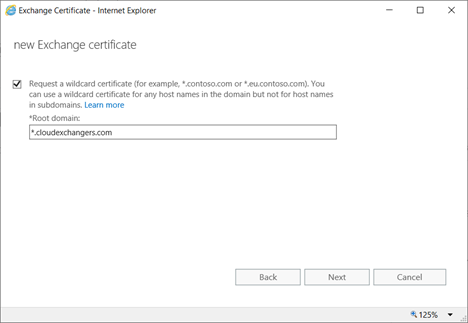
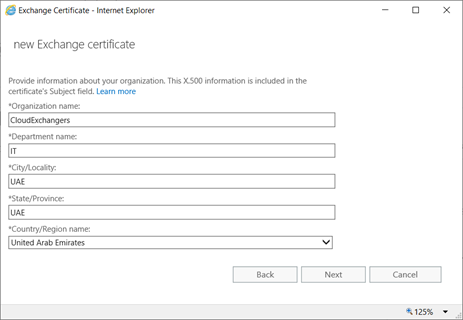
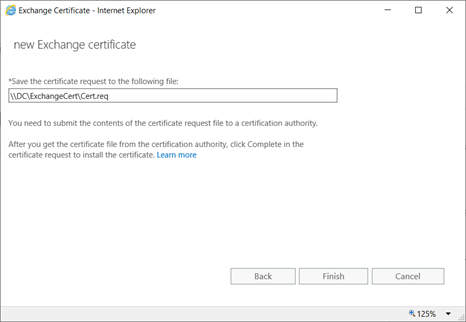
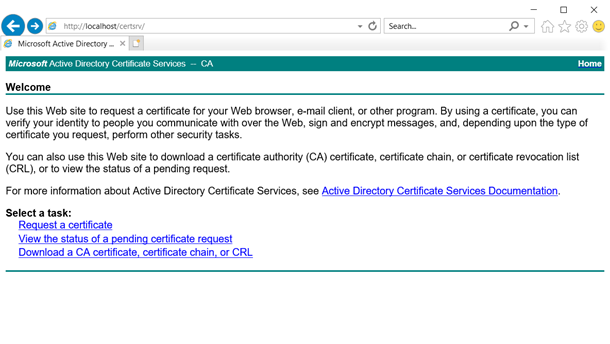
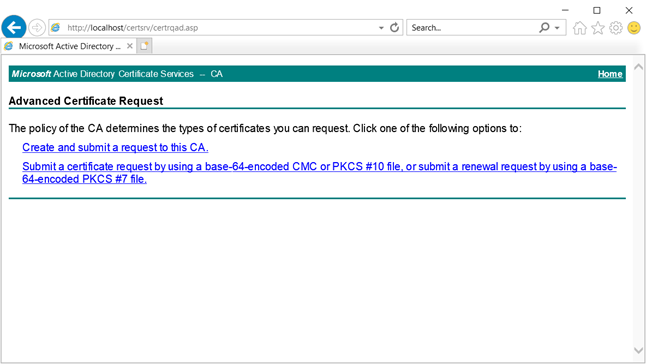
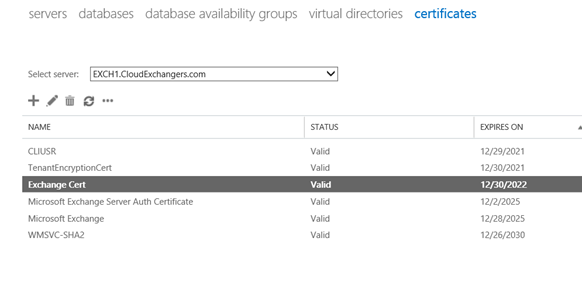
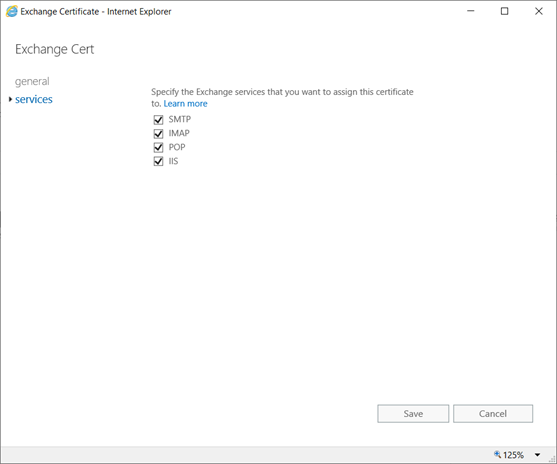
Certificate Request:
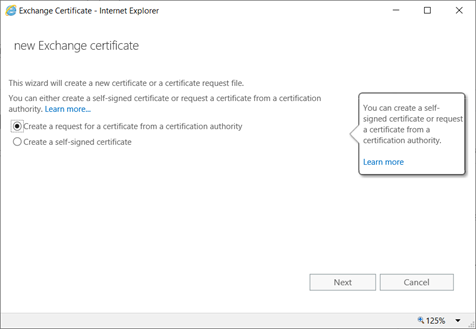
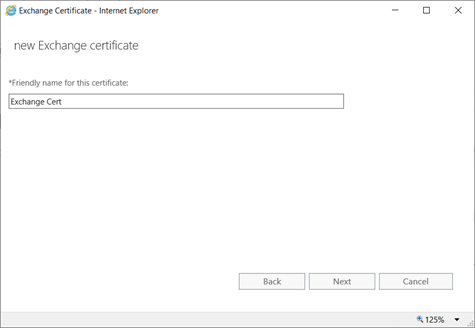
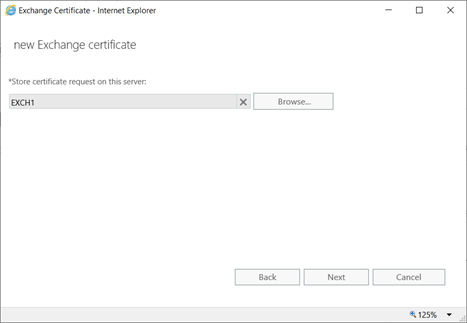
On DC,

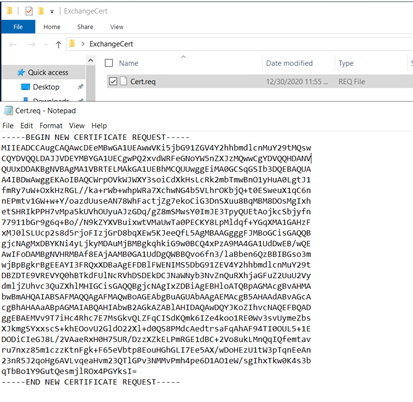

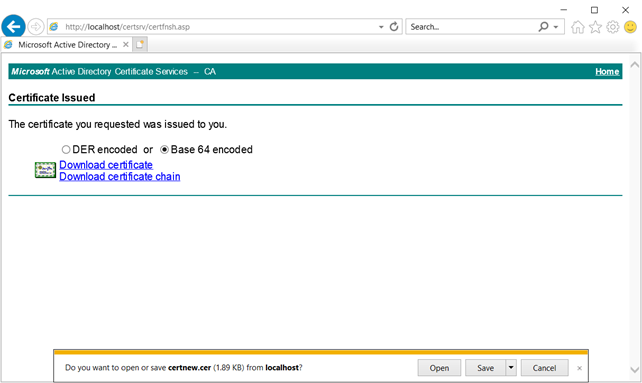
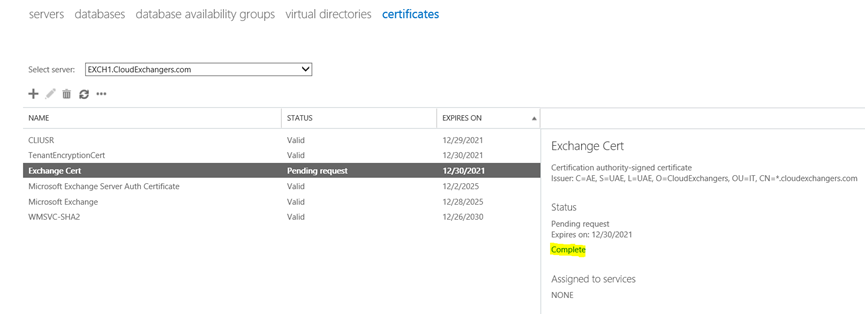
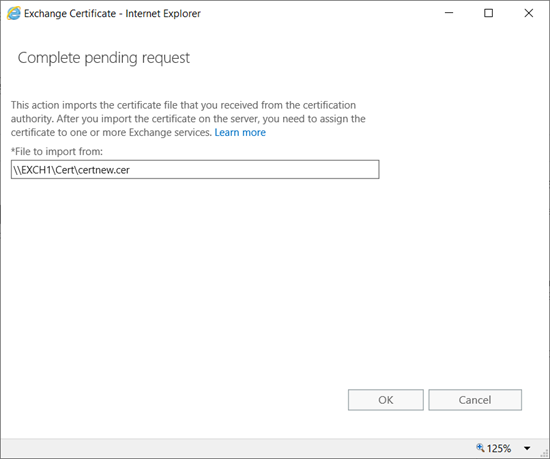
Please note: Export the cert using MMC with private key and import it on the other server.
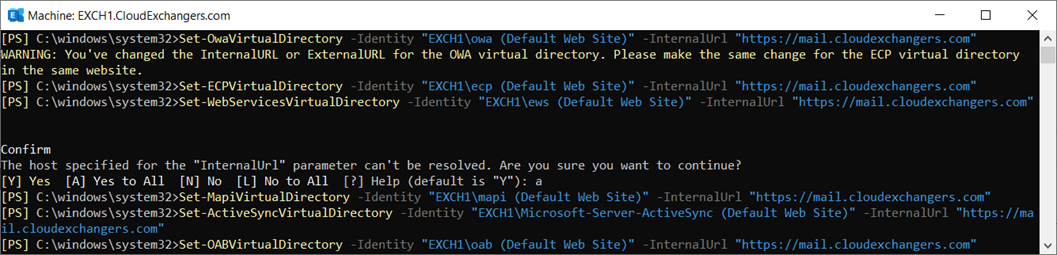
Virtual Directory URL Configuration

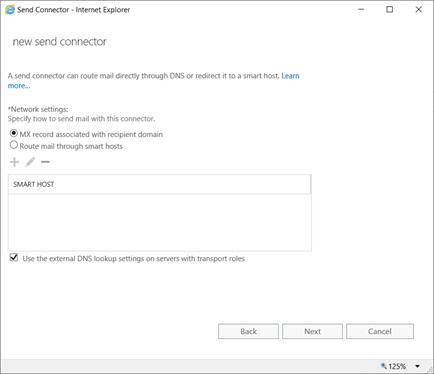
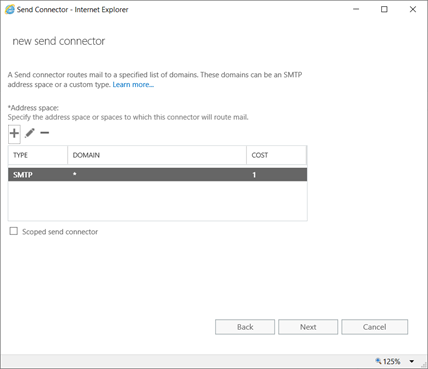
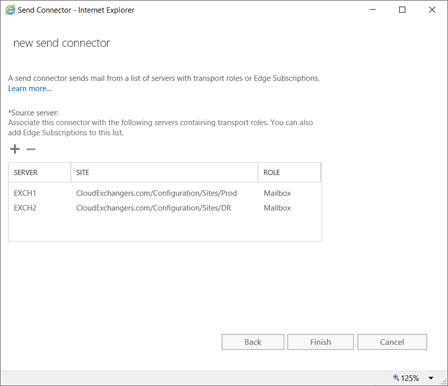
Connector Configuration
EAC -> Mailflow -> Send Connector


DNS
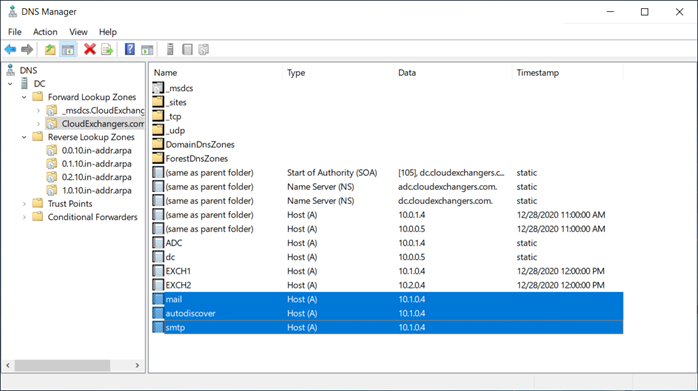
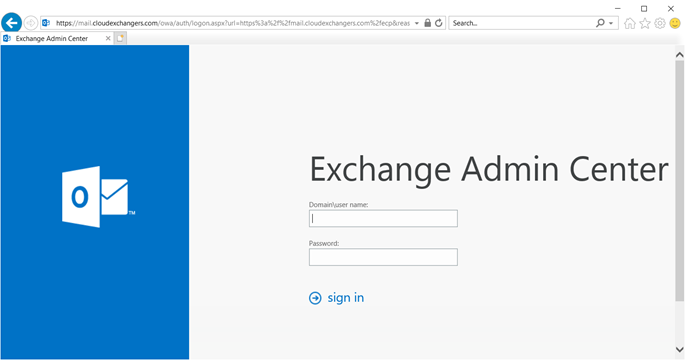
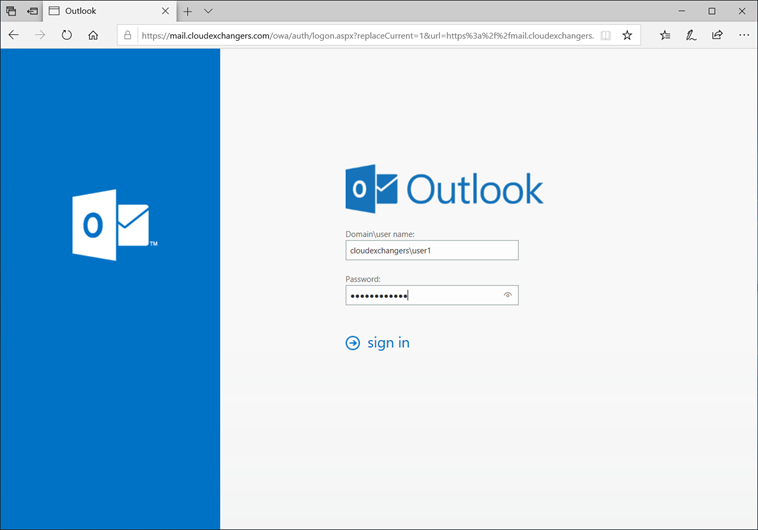
EAC is accessible using https://mail.cloudexchangers.com and with the valid certificate
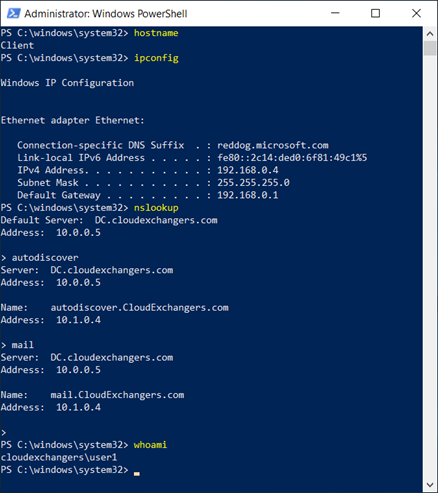
Client machine
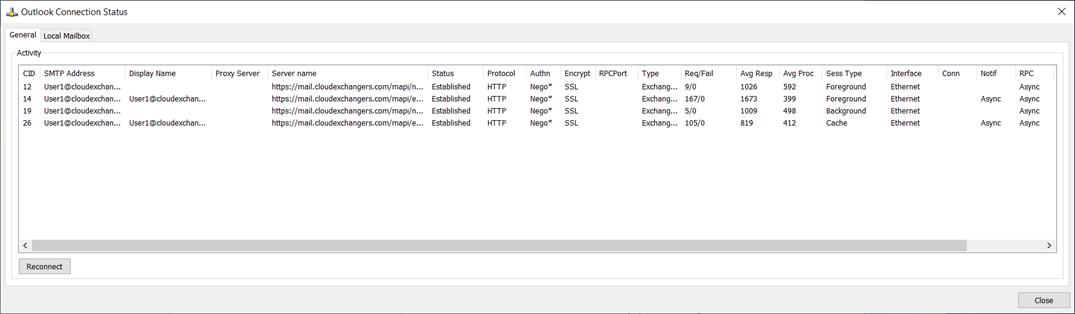
Outlook

OWA
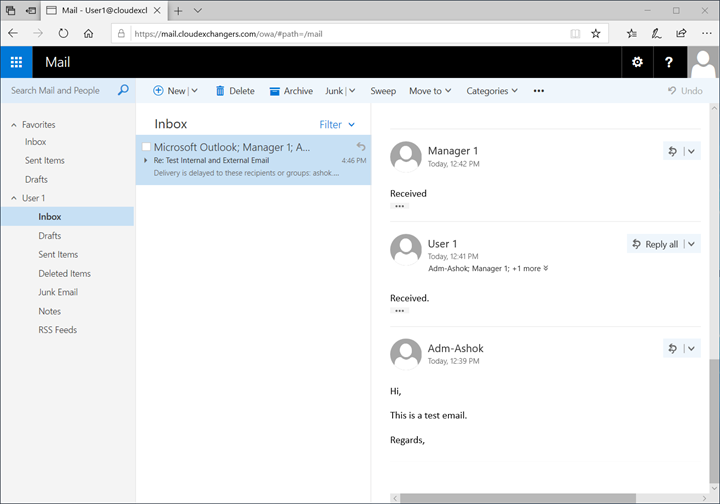
Great! Exchange environment is ready with 2 node IP-less DAG across 2 active directory sites and a client machine with outlook configured.
In the next post, we will perform the Failover and Failback.
Happy learning!! 🙂