M365 Business App – Bookings
Today, we are going to learn about one of the fast-growing business apps in M365 that is Bookings. Microsoft Bookings allows you to schedule and manage appointments by providing a web-based booking calendar. Customers can choose the service and book an appointment online that works best for them. Once booked, customers get the email & text notifications. This online service can be used for small business, enterprise level and much more. Some of the use cases are, it can be used for healthcare industry for patient’s appointments, initial consults, etc.
Let’s now look at the requirements for using this app, any user with the below licenses can create and publish the Booking calendar for managing their schedules.
- Office 365: A3, A5, E1, E3, E5, F1, F3, Office 365 operated by 21Vianet.
- Microsoft 365: A3, A5, E3, E5, F1, F3, Business Basic, Business Standard, Business Premium
Now let’s move on to the steps involved in creating, publishing, managing and the various options available for the customization of Booking calendar. Today, we take an example of an IT company and how bookings can be used for various services provided by them.
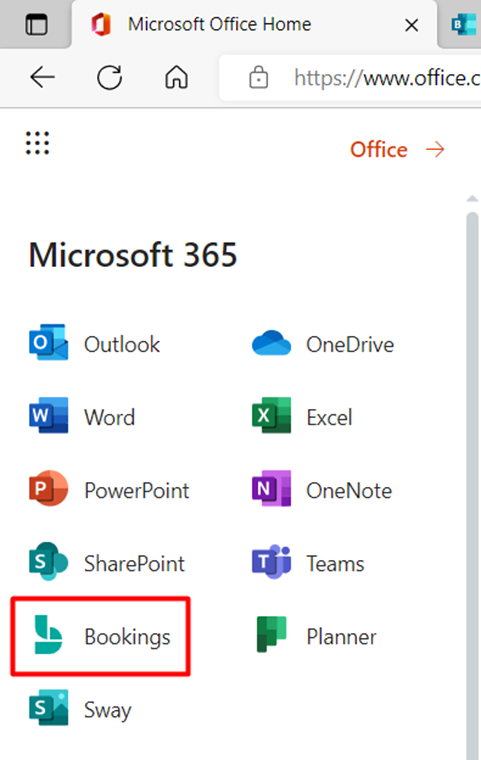
Login to M365 portal -> select Bookings which will open a new tab
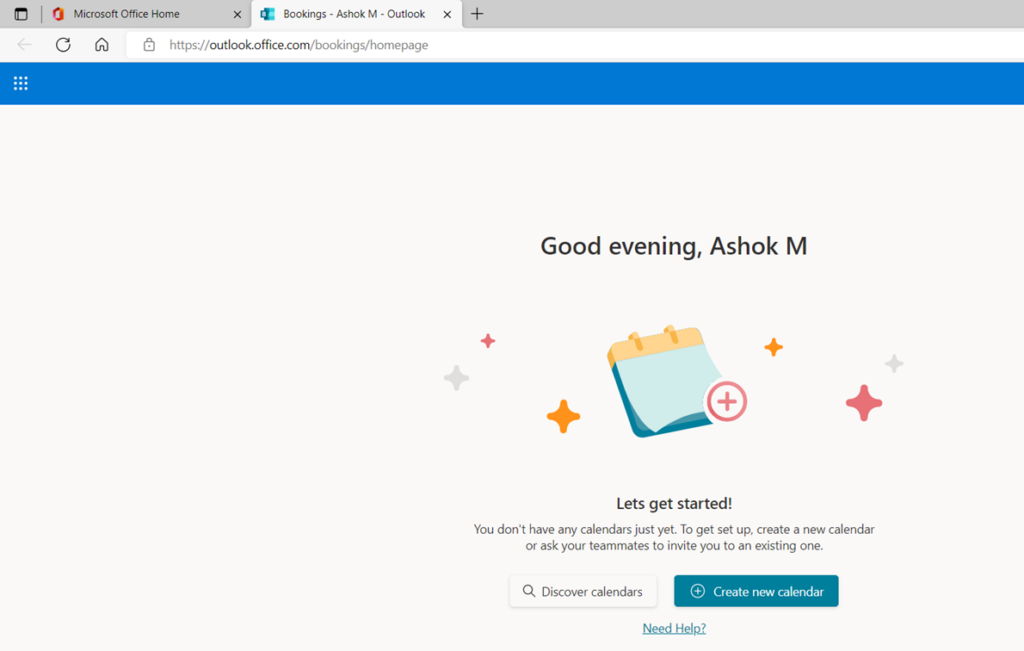
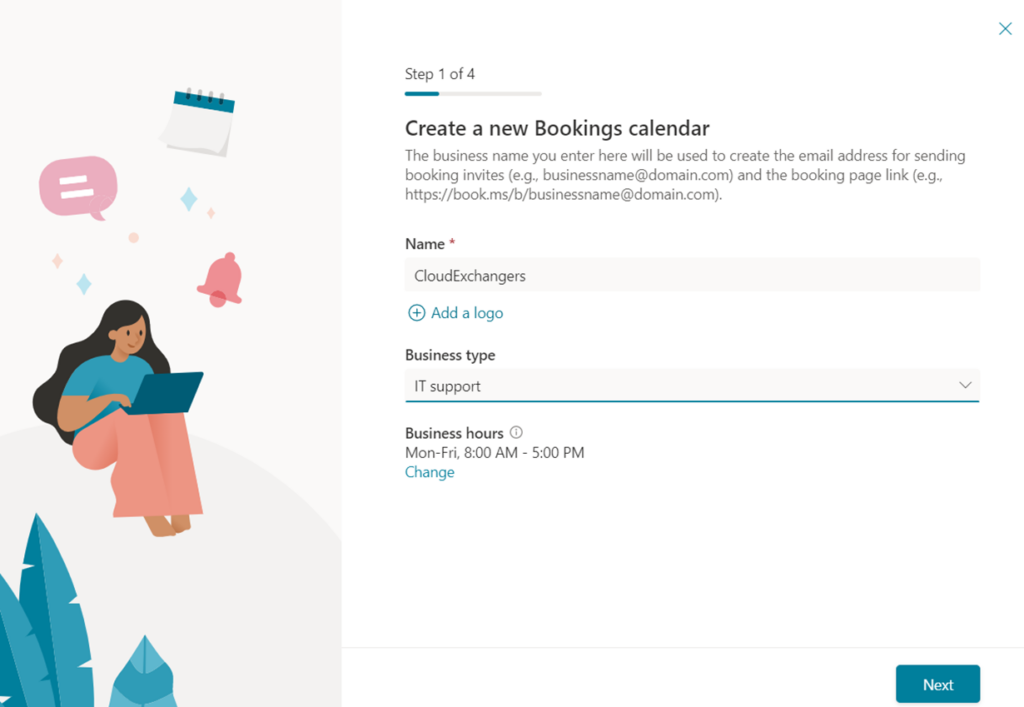
As you can see I don’t have any booking calendar available. Lets create a new one by clicking on “Create new calendar”. Upon clicking, it will take 4 steps to create a calendar. First one is to provide the Business name, type and hours. So, here in this example, CloudExchangers is the company and the business type is IT support. There are also other options available for Business type like Healthcare, Education, etc.
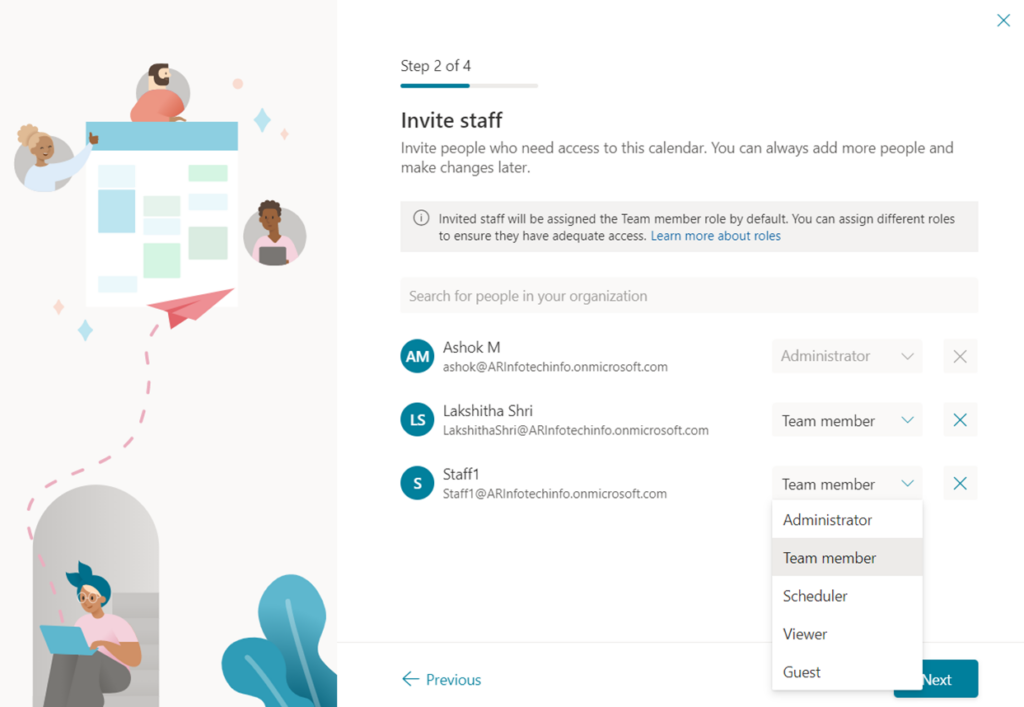
Second step is to invite the staffs who will be part of this calendar who needs access to this calendar and provide the services booked by the customers. You can also assign various roles as required.
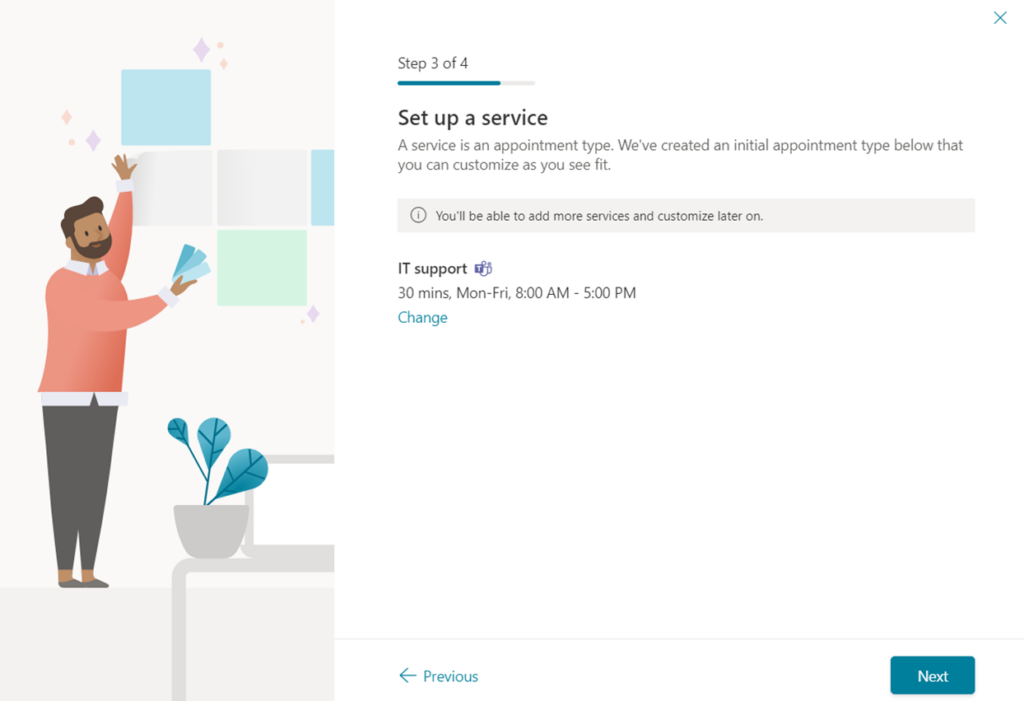
Next step is to add the service which is being provided. In this step, we can add the first service and later once the calendar is created, we can add as many as services
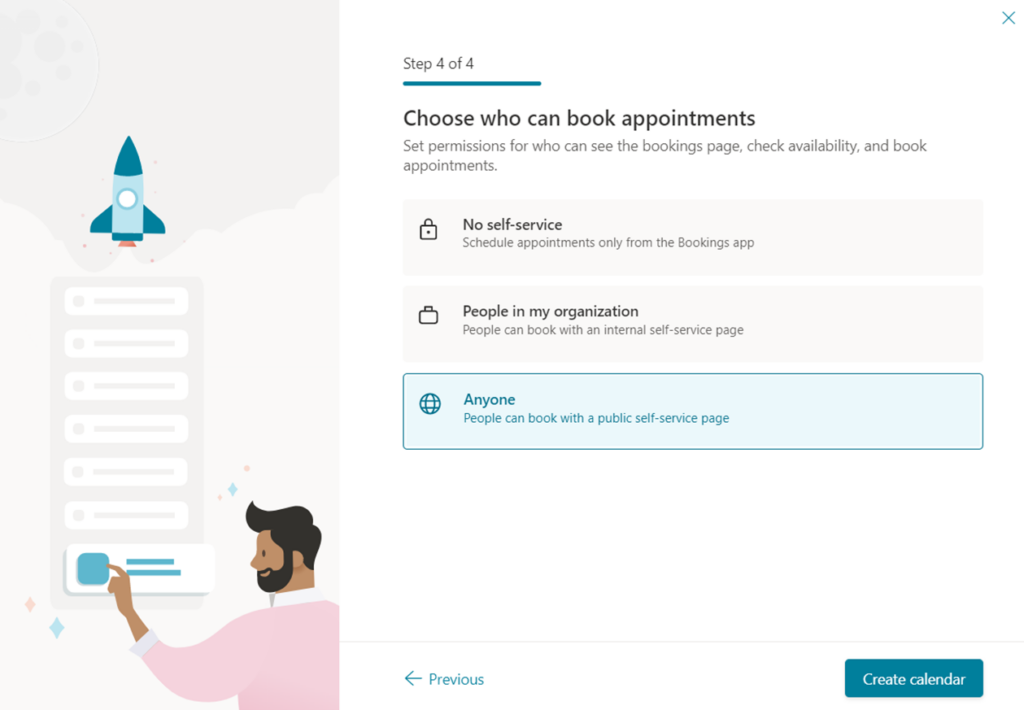
Final step is to choose the people who can book appointments. In some scenarios, it could be people inside the organization and in some it will be anyone. Once selected, click on “create calendar”
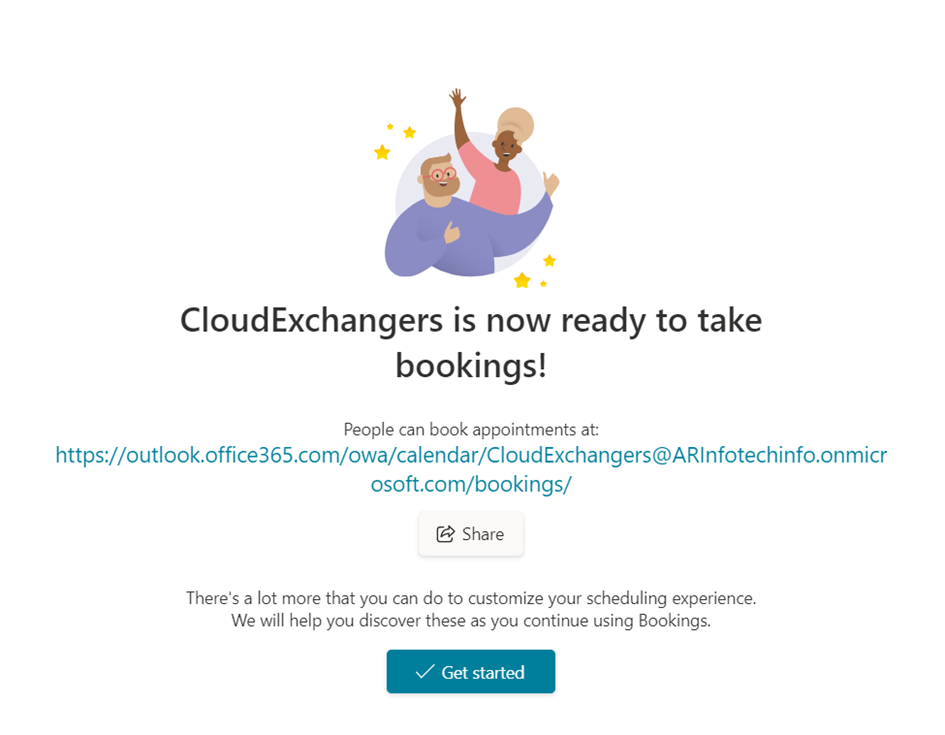
You can share this link through email or teams or publish it on the website. But this calendar has the basic template and the settings.
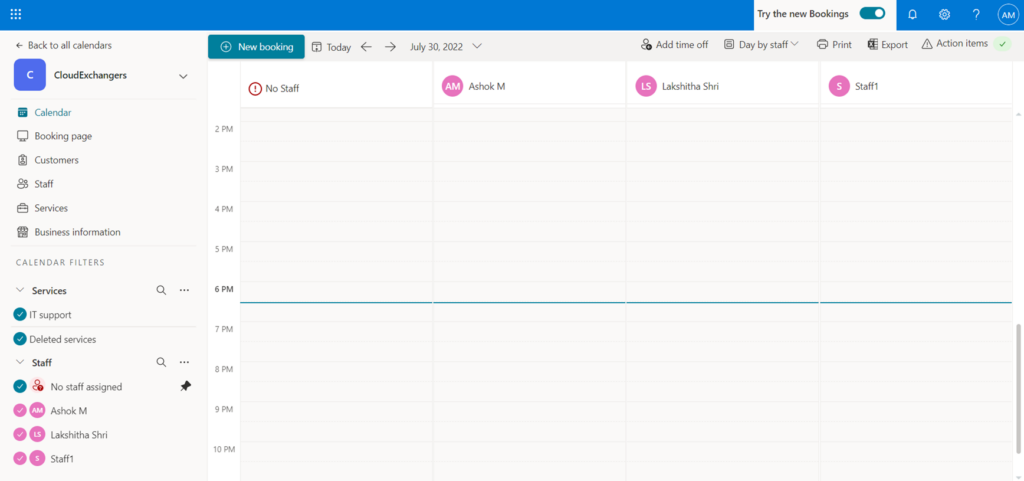
As I said before, we can add more customizations to this page. Let’s now see the options available for the customizations. Navigate to the bookings page and select the calendar. In this case, it is CloudExchangers.
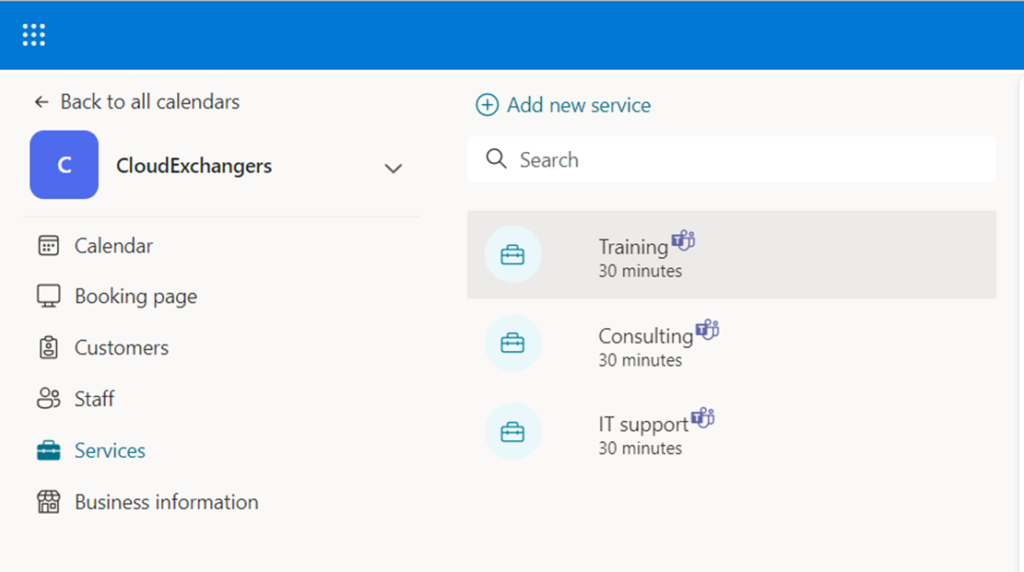
So, the options available are Booking page, business information, staff, customers, and services.
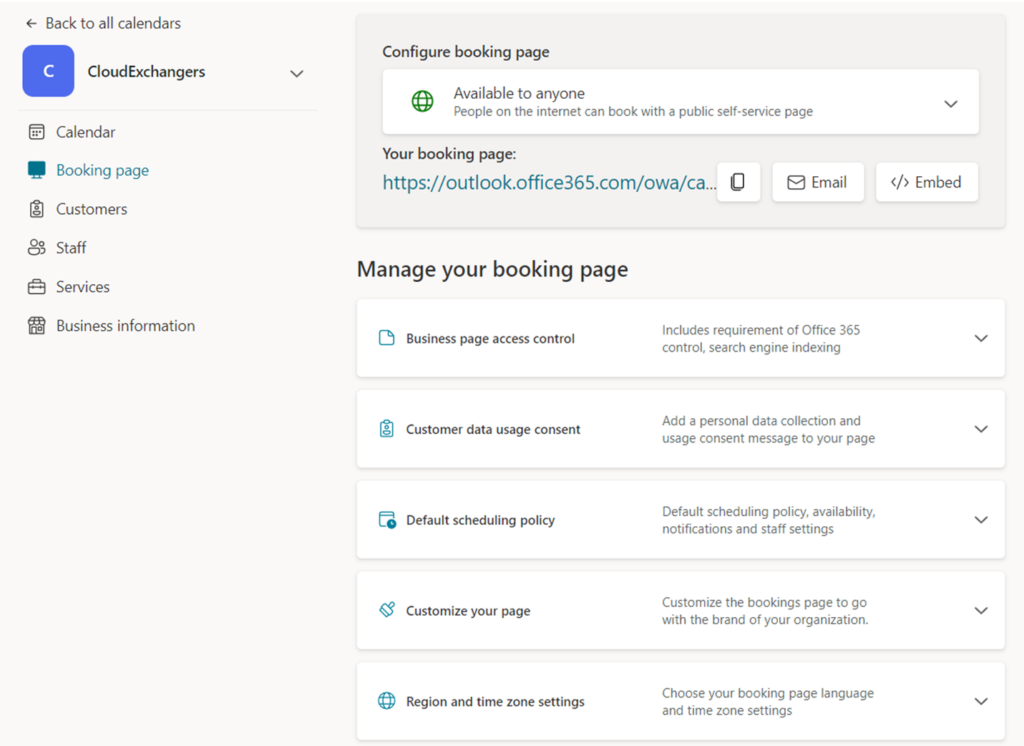
Let’s explore each one of the options. First is the booking page which has various options including enabling OTP to create bookings, adding a usage content, setting the time for lead times, booking page customizations, time zone and more
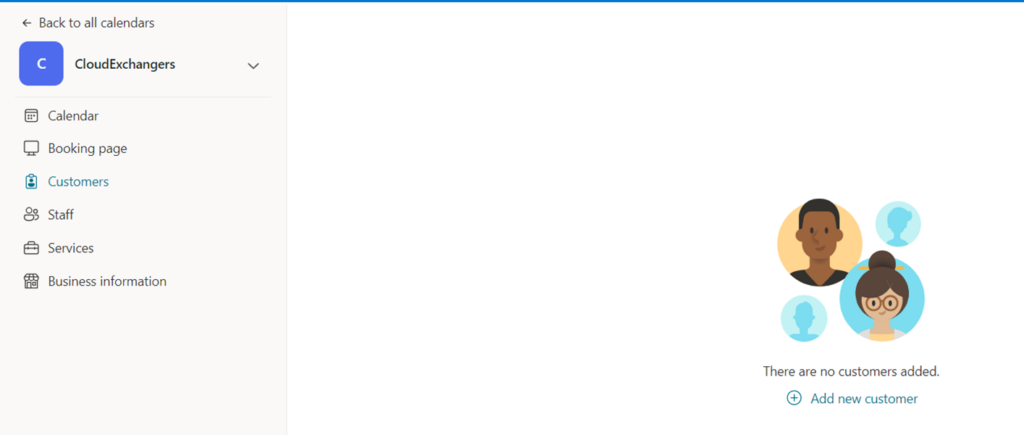
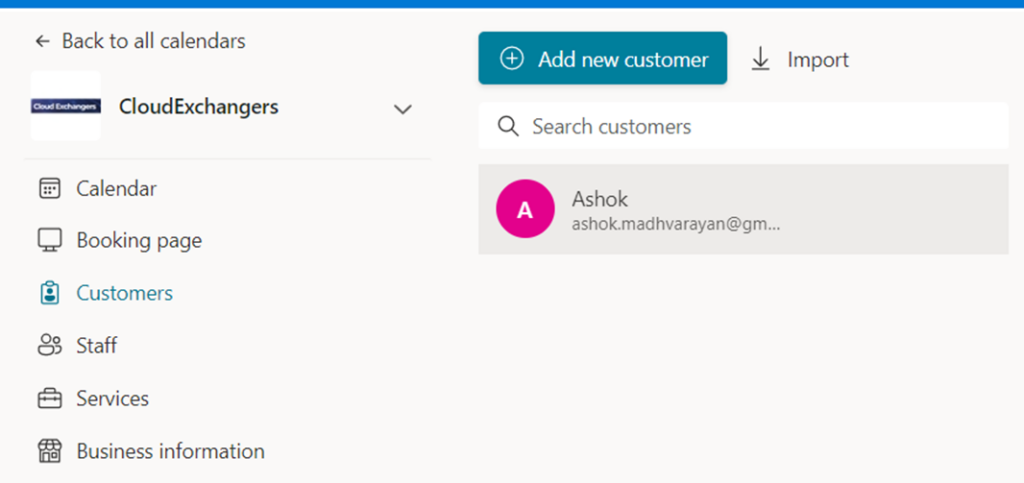
Next is the Customers section, this auto-populates information based on the bookings done. Alternatively, if you have regular customers, we can add the customer information.
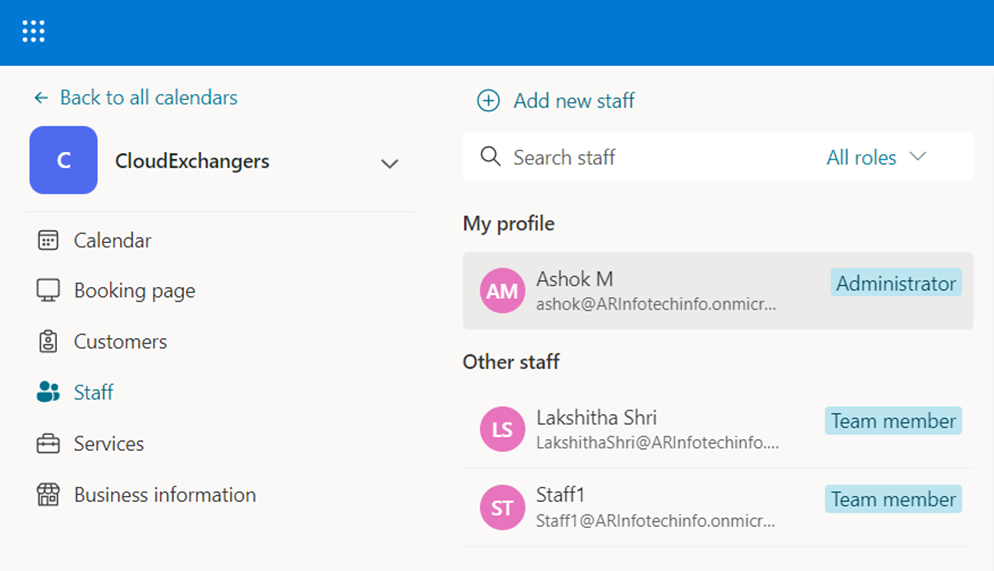
Let’s move on to the next section, which is the Staff. So again, when creating the booking calendar, we have added the staff’s that are populated here. Incase if the access needs to be given to a new staff, that information can be updated anytime using this section
Next one is one of the most important section where we need to the add the services provided so the customers can select and book an appointment accordingly. For this example, while creating the calendar, I added “IT support”, so using this section, I have updated the other services which are available for the customers to choose.
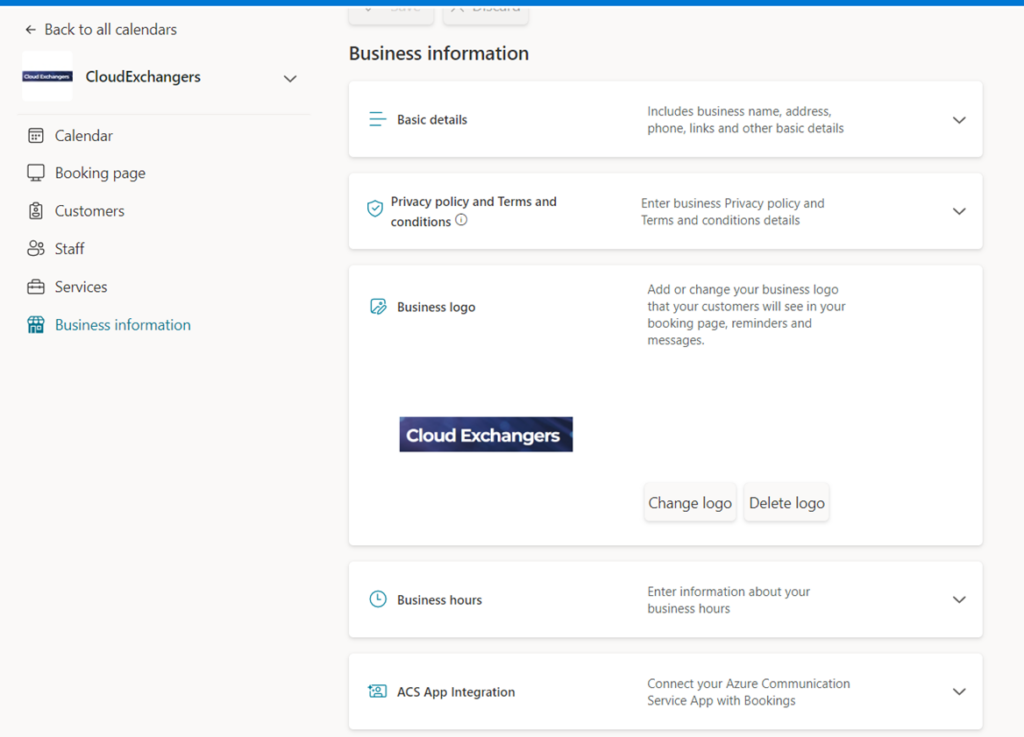
Finally, add the business information, logo, website url, privacy url’s, business hours, etc
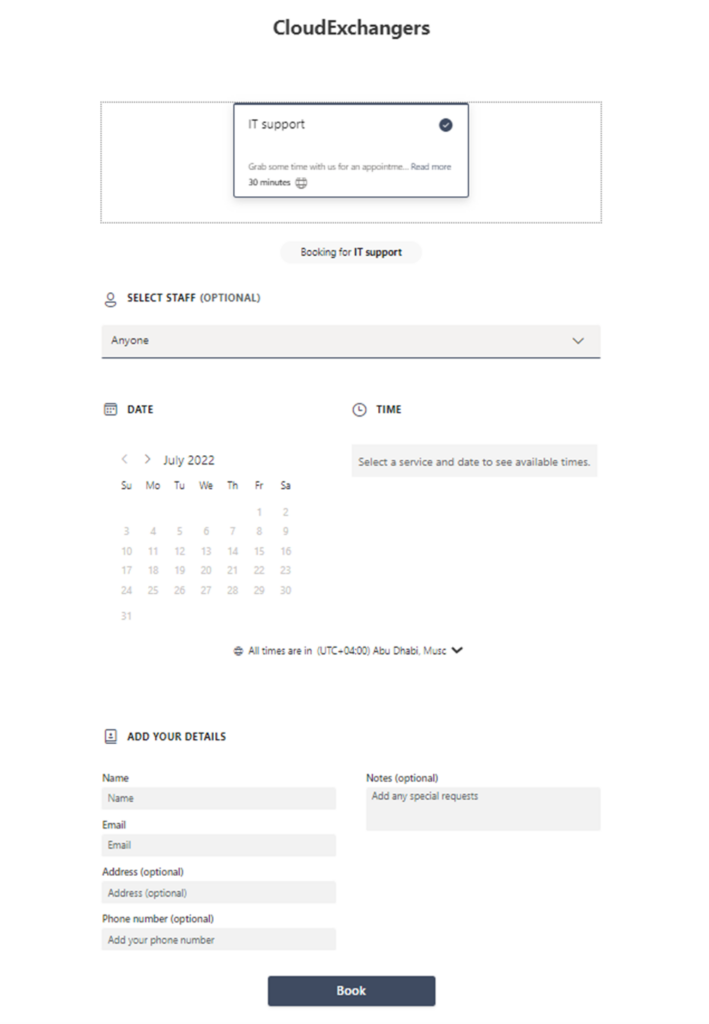
That’s great. So, now we have explored all the options available and successfully created the Booking calendar. Below is the final output of our booking page,

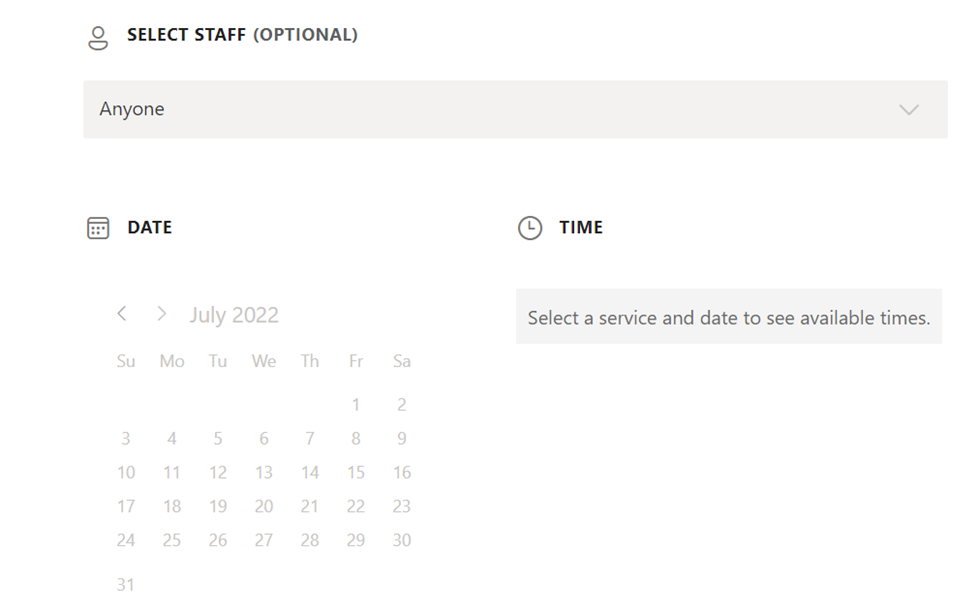
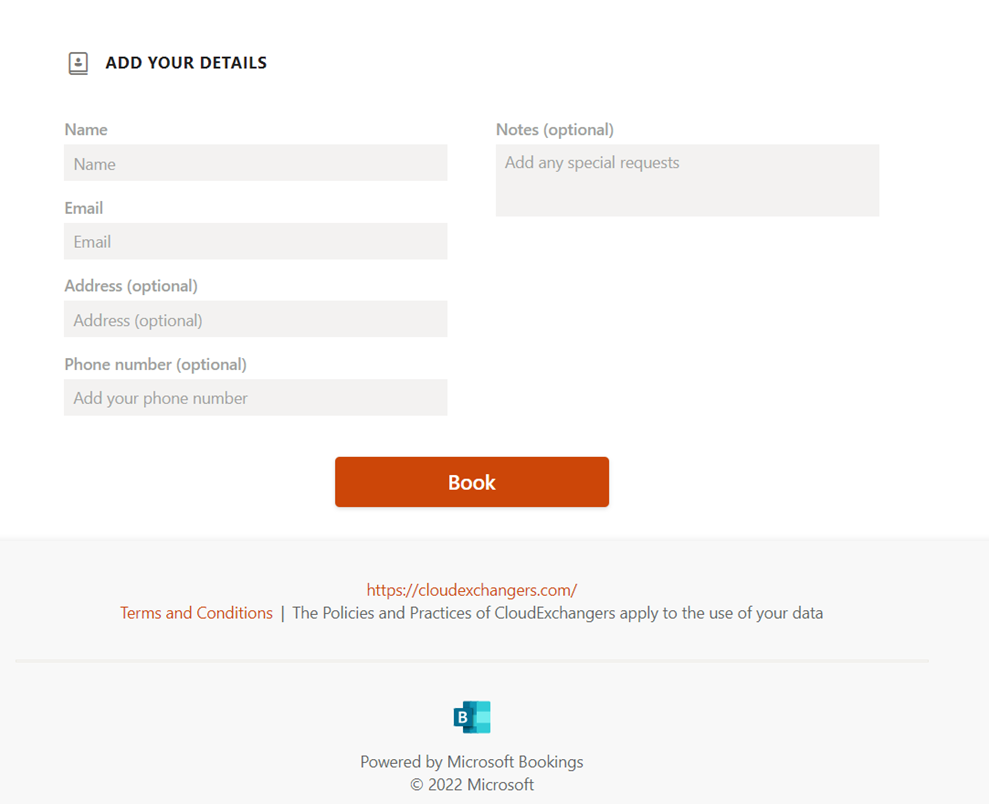
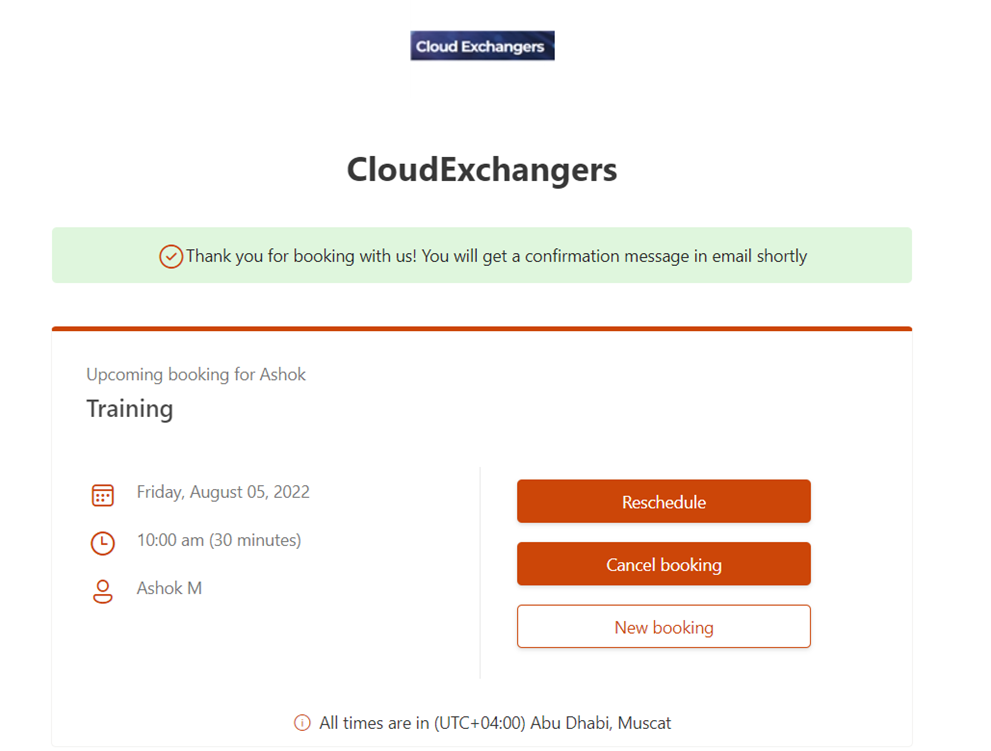
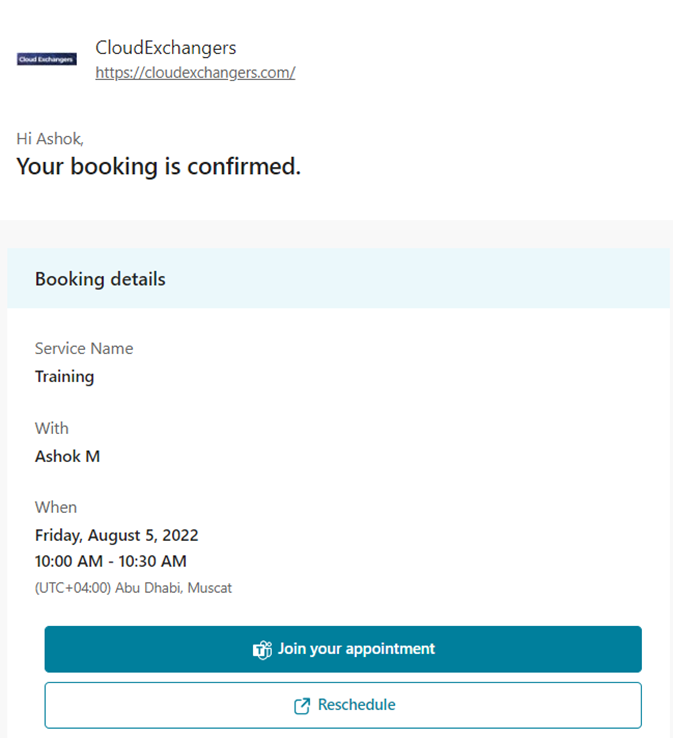
Now, let’s book an appointment as a customer and see what happens. I provided the information and chose the “Training” service. As a customer, you have the option to Reschedule, cancel the booking. Also, I got the email notification.
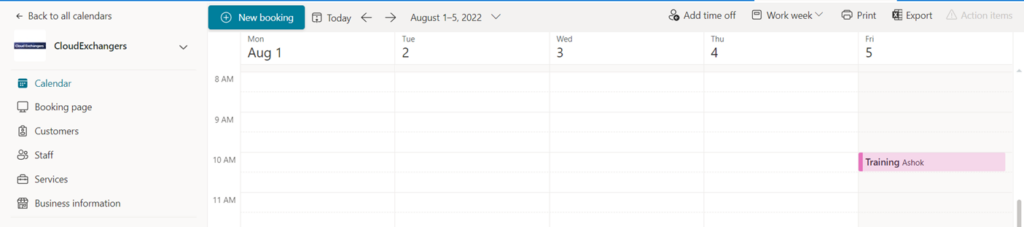
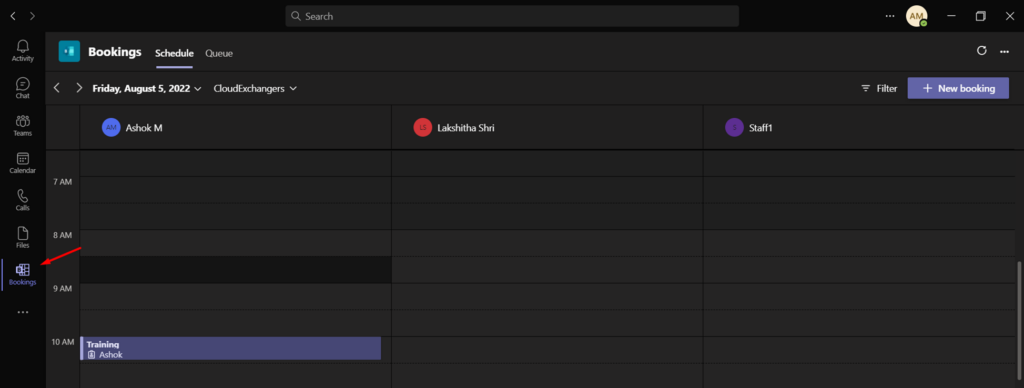
If we navigate to the Bookings calendar, it will be updated with the meeting invite and also the Customers section.
Amazing, isn’t it. Another feature is that this app can be added to the MS Teams for the easy management of Booking calendar.
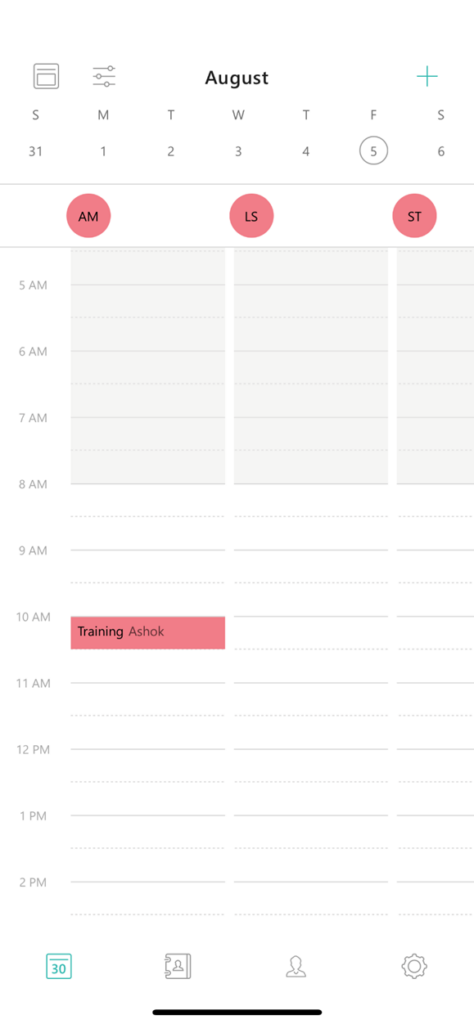
Additionally, it has the mobile app as well. Once you download and sign in, choose the booking calendar and it will have the below options like the bookings webpage.
- Calendar
- Customers
- Staff
- Settings
Hope I have covered most of the information, features, usages of the Microsoft Bookings app that is one of the important business apps available withing M365.
Happy learning!! 😊